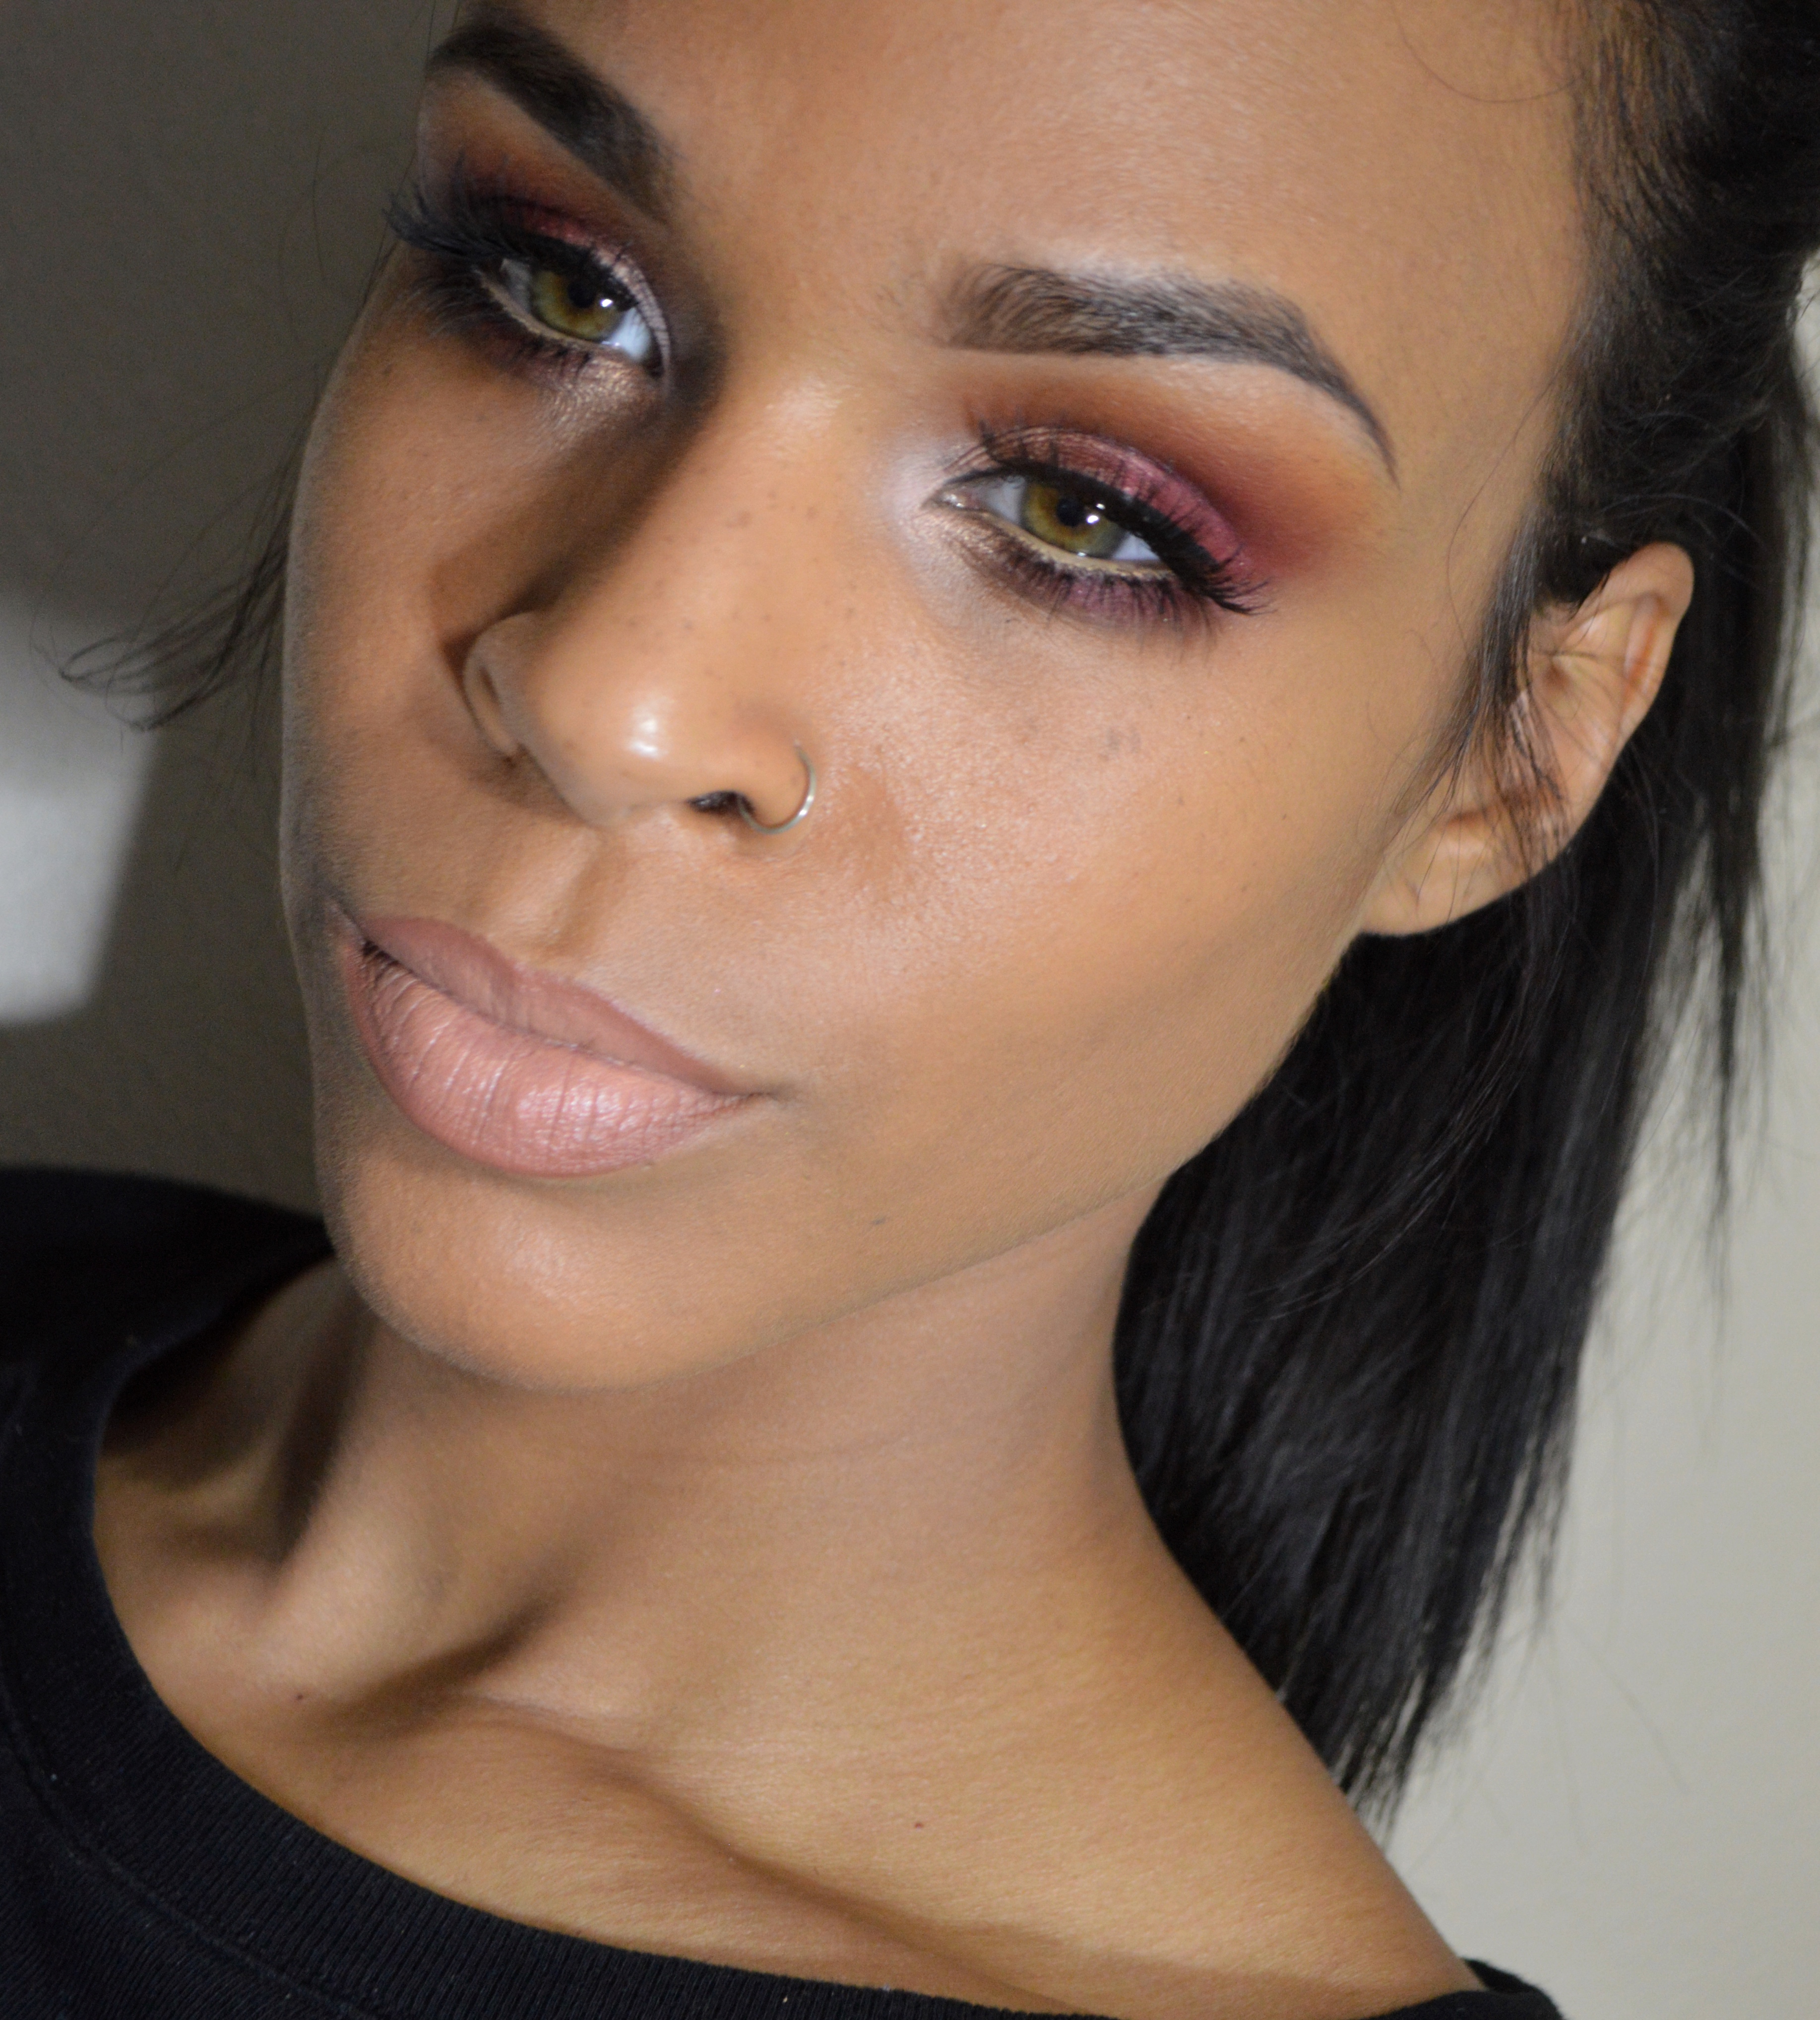
Contouring is one of the last steps in my makeup routine so I have already finished the eyes and applied concealer and foundation.
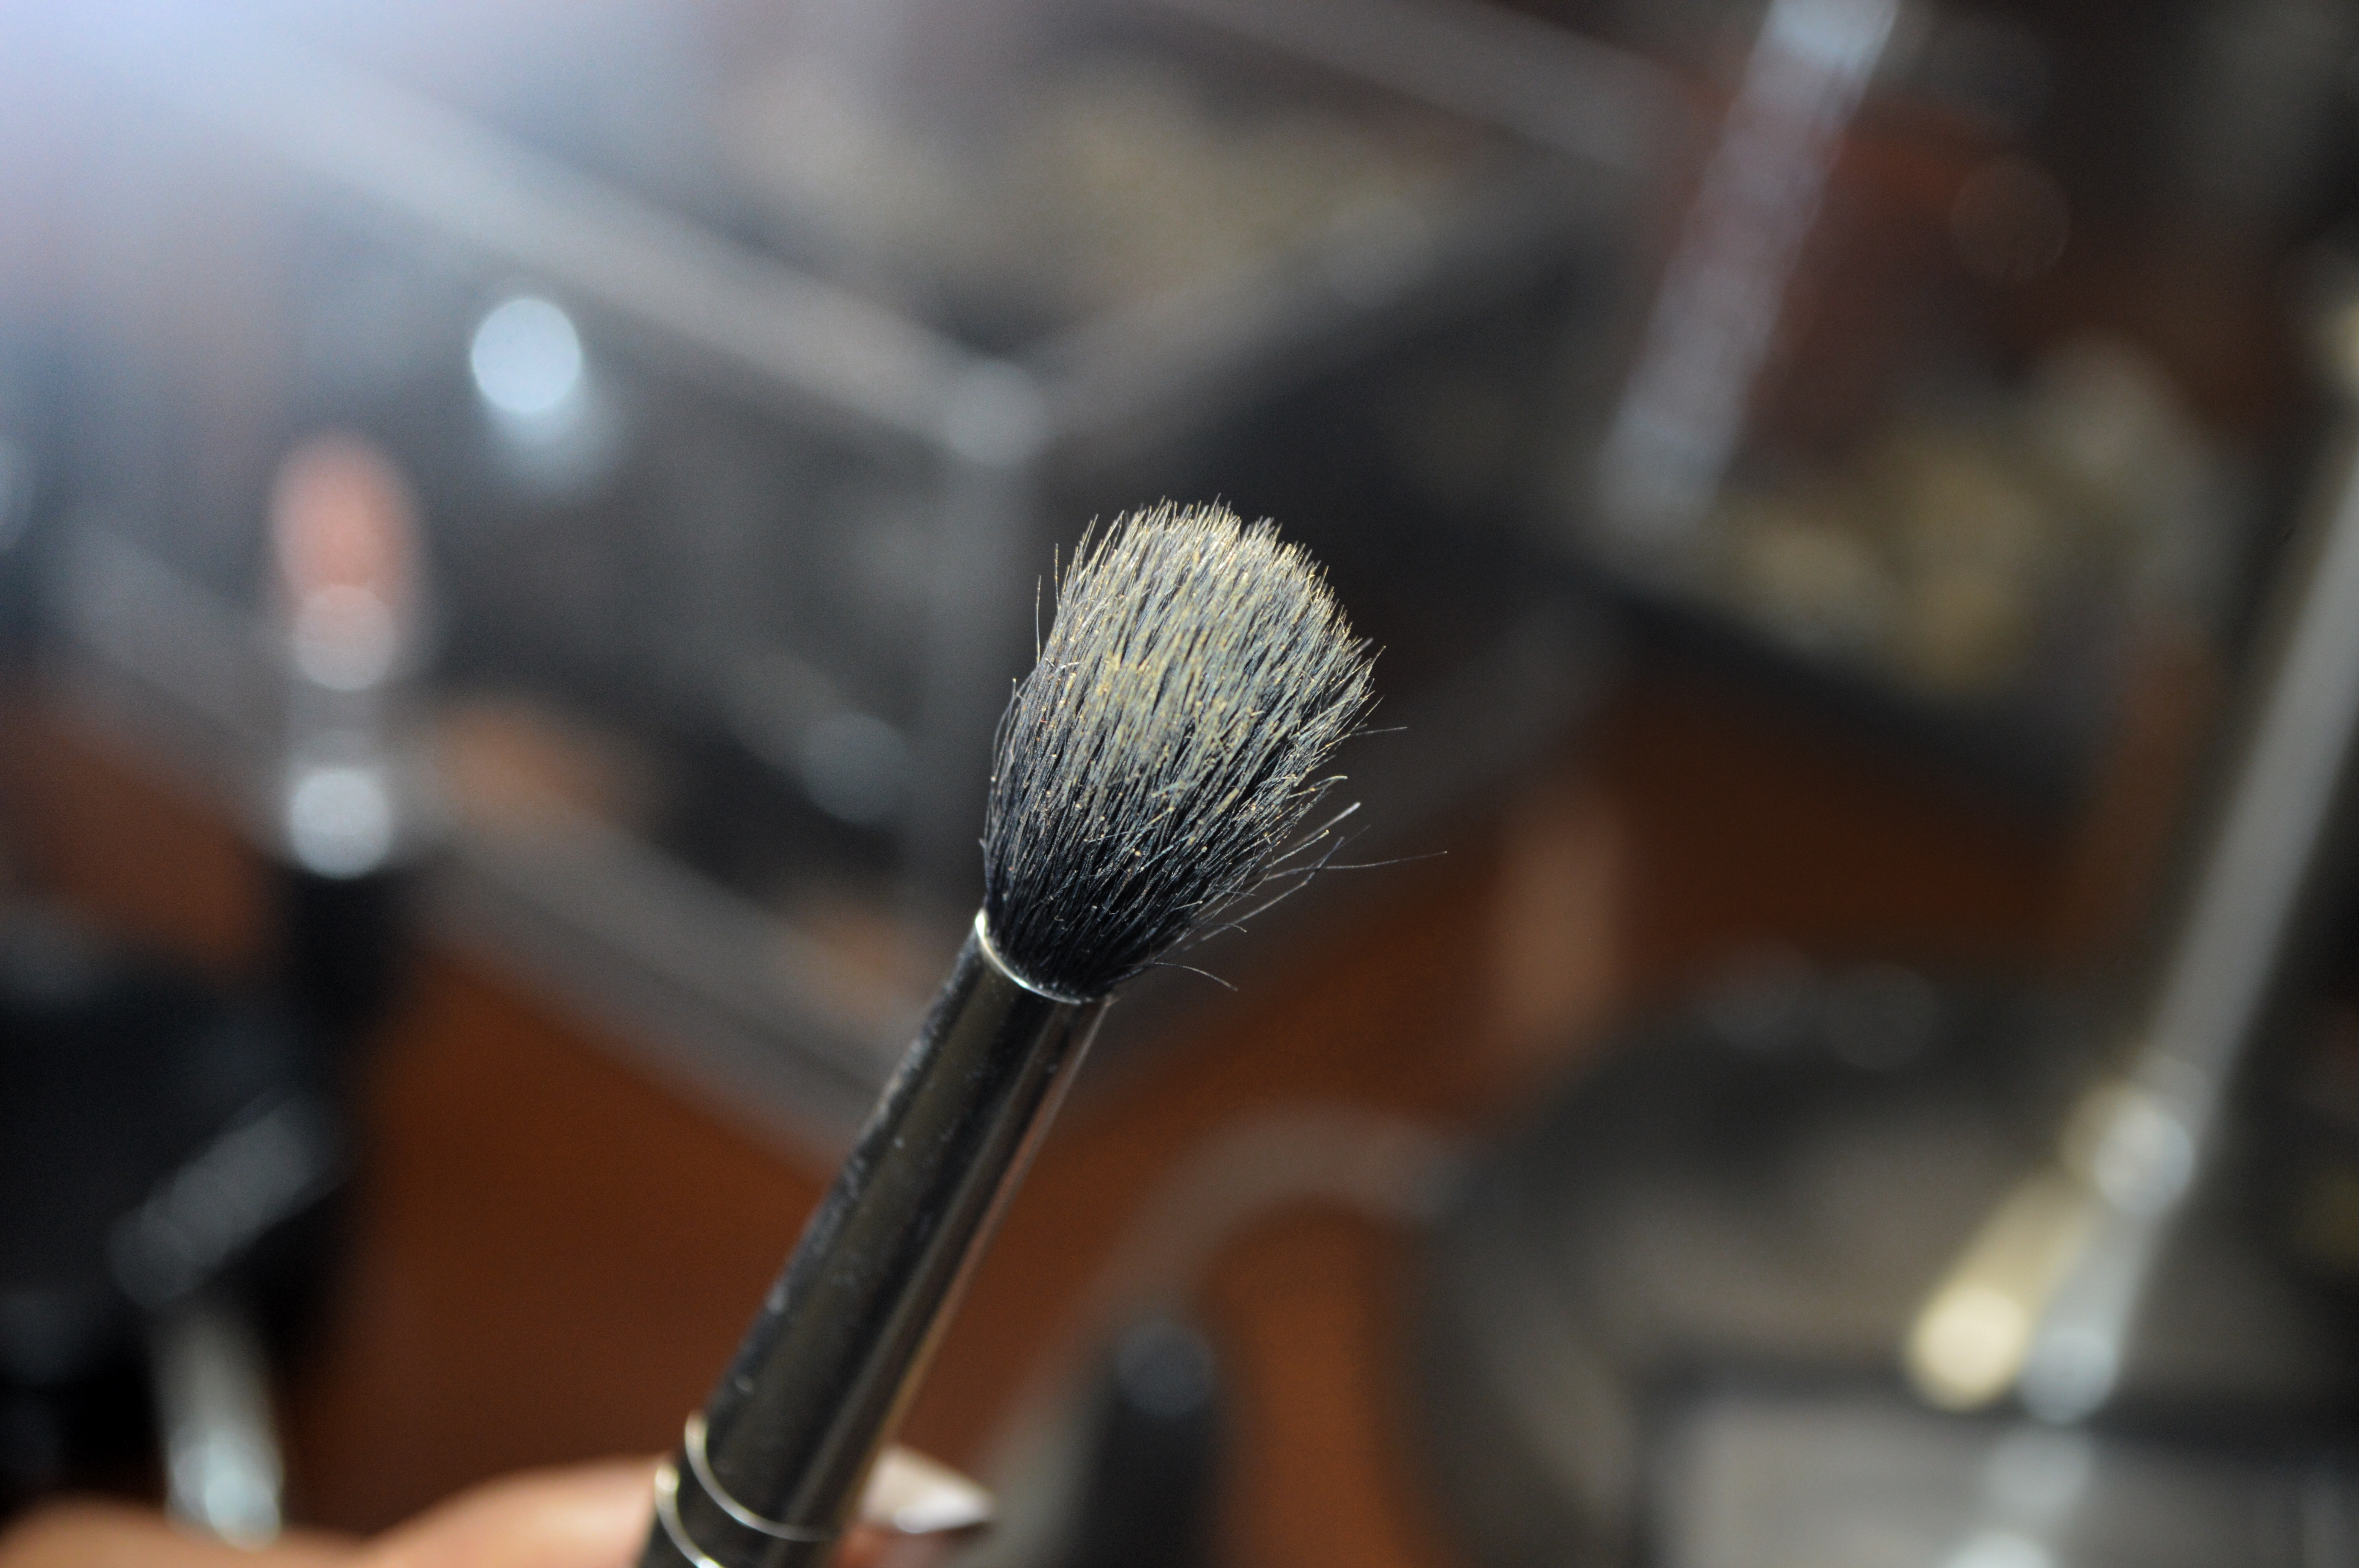
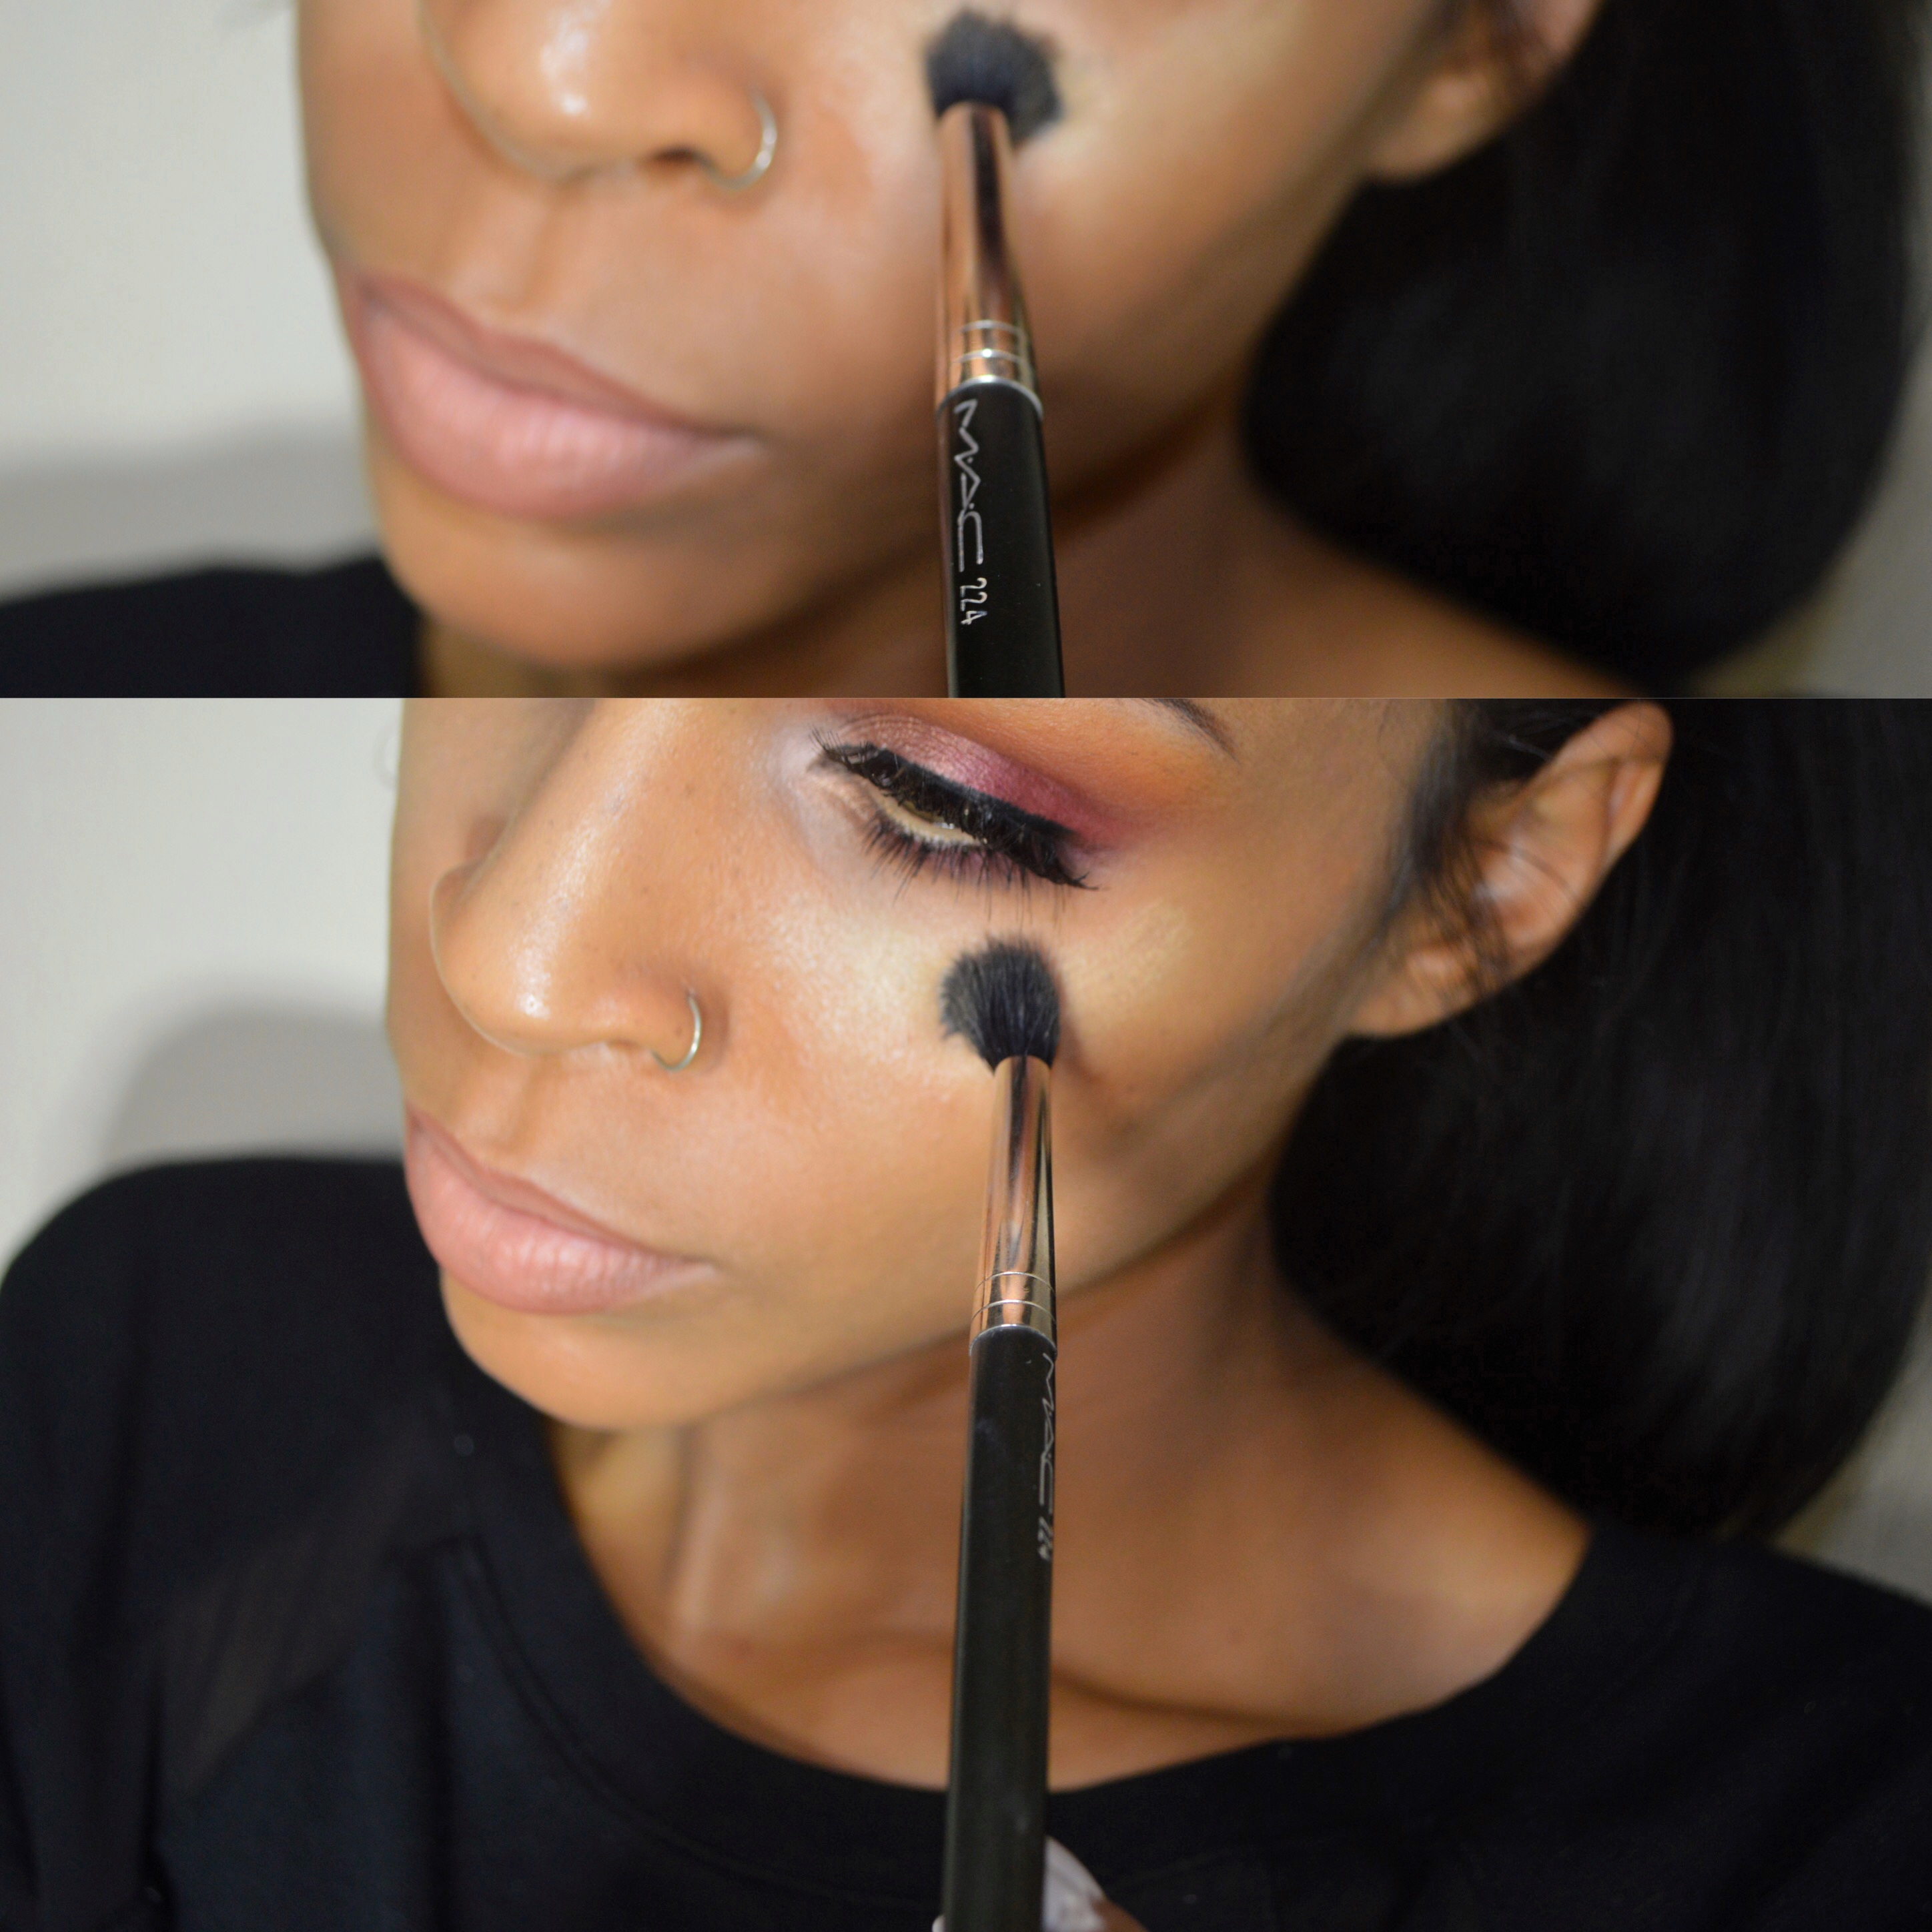
First thing I like to do is highlight (softly) with this yellow tone color corrector cream for my MAC Studio Finish concealer palette (in medium). When blending a concealer or highlighter I always like to use a fluffy blending brush and start with as little product as possible so I can layer the concealer if needed. The texture right below our eyes tends to be a little different than the rest of the face and I’ve noticed less is definitely more in this area. This also goes for any sponges/beauty blenders for under the eye. Even if you wet the sponge I feel like the product can still just sit on top of the skin instead of it being pushed and stippled into the skin like it should be.
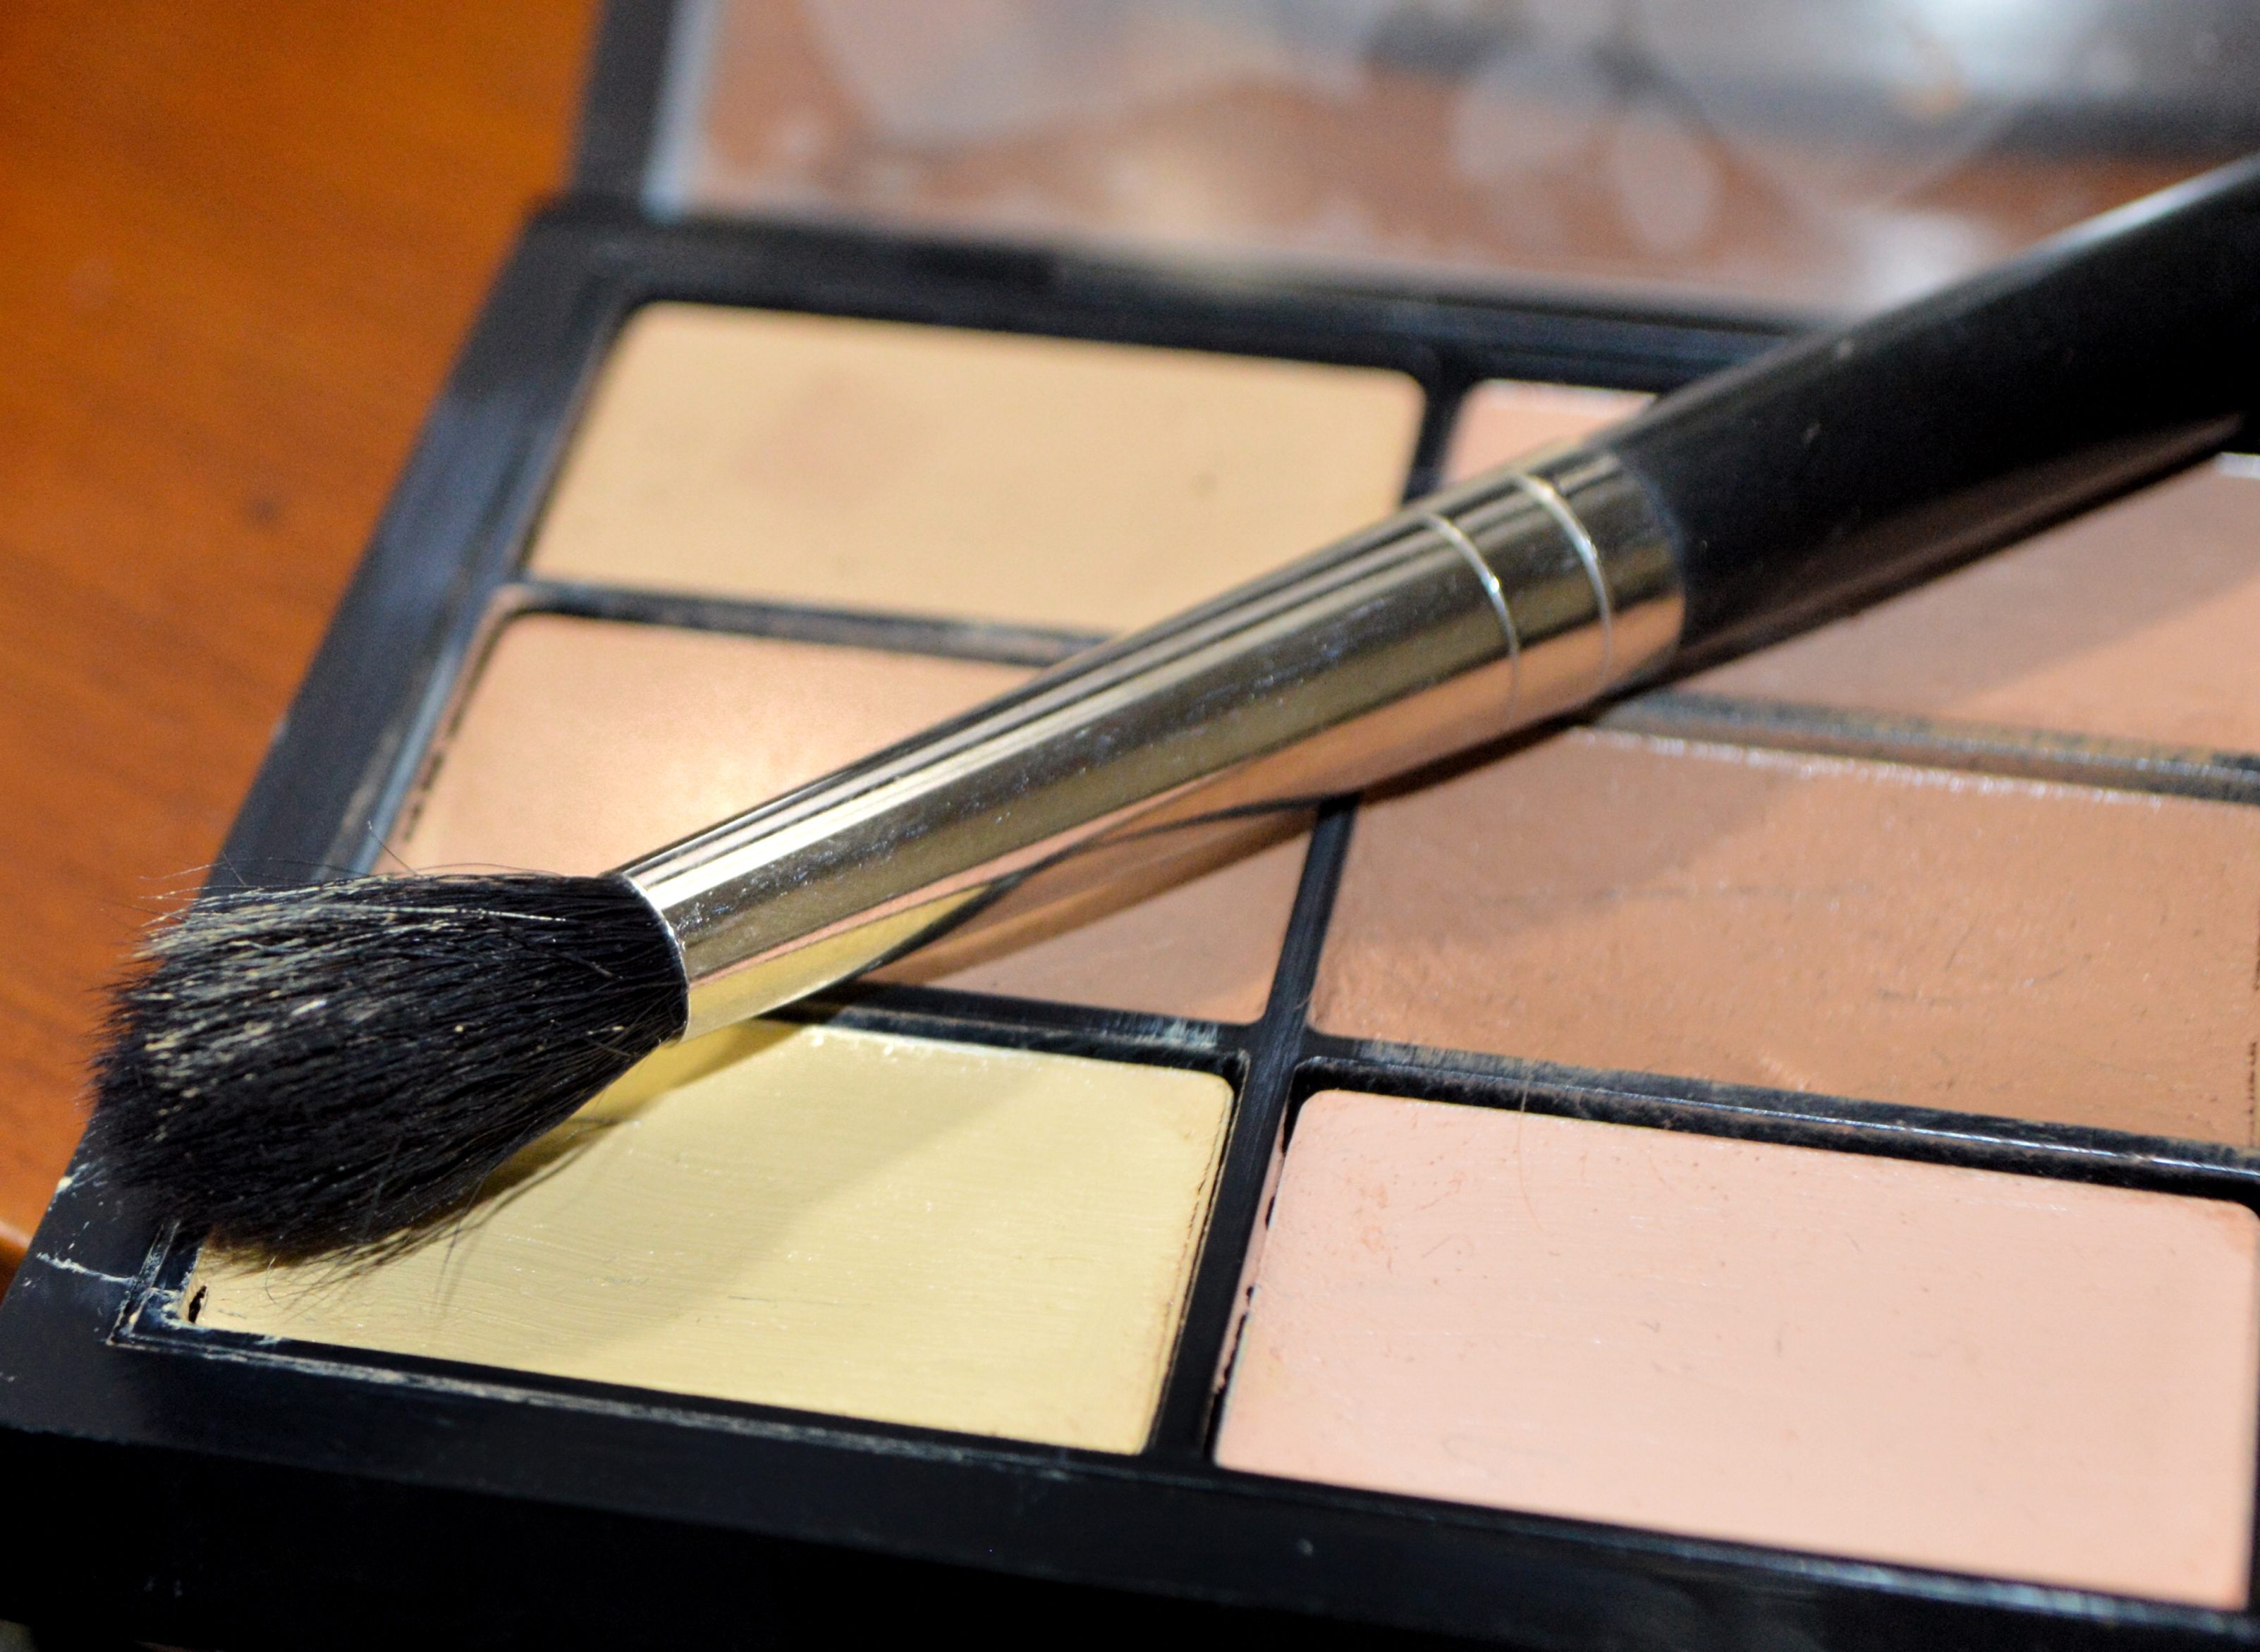
The Studio Finish Cream Concealers are a full coverage product so I just barely dab my brush into the cream.
Since I already applied my concealer to get rid of dark circles and now that we’re just looking to highlight I don’t put the highlighter directly under the eye. I want it more concentrated on the higher planes of the face..
Blend it downward in small circle motions until the product disperses itself and fades into the areas you will be contouring or covering with blush.
When it comes to a contour color I stick with bronzers, eyeshadows, or neutral blush tones… I steer clear of creams or foundations to contour.. actually, I avoid them like the plaque! In my opinion its just not necessary. I know there are a lot of youtube videos out there that show you to apply full coverage concealer, then full coverage foundation, then layer on two to four other products to contour and highlight THEN pack on two different powders to set that caked on makeup so it lasts all day! Mannnnnnn that is too much! Too much work and too much “stuff” to walk around with on your face all day everyday and it damn sure doesn’t look even close to natural..in my opinion. This post might come off a little harsh but only because I work at a makeup store and get asked seven times a day about this and someone shows me a picture of so and so wearing golds and browns, and a client says “I don’t wear makeup normally so I want it to look natural like hers.” No shade here.. but there’s is nothing natural about your typical Instafamous MUA’s makeup! But I understand if you’re not deep in the makeup game why wouldn’t you just assume these people with no pores, wrinkles, blemishes, hooded eyes, and perfectly sculpted face didn’t wakeup looking that gorgeous!?! My point is i think a lot of people are getting tricked into thinking this trend (that doesn’t seem to be going anywhere soon) is becoming the standard of how we need to look in order to be beautiful and I actually think it takes away from natural beautiful features that make us all look different….Sorry that was a rant.. Back to the point..
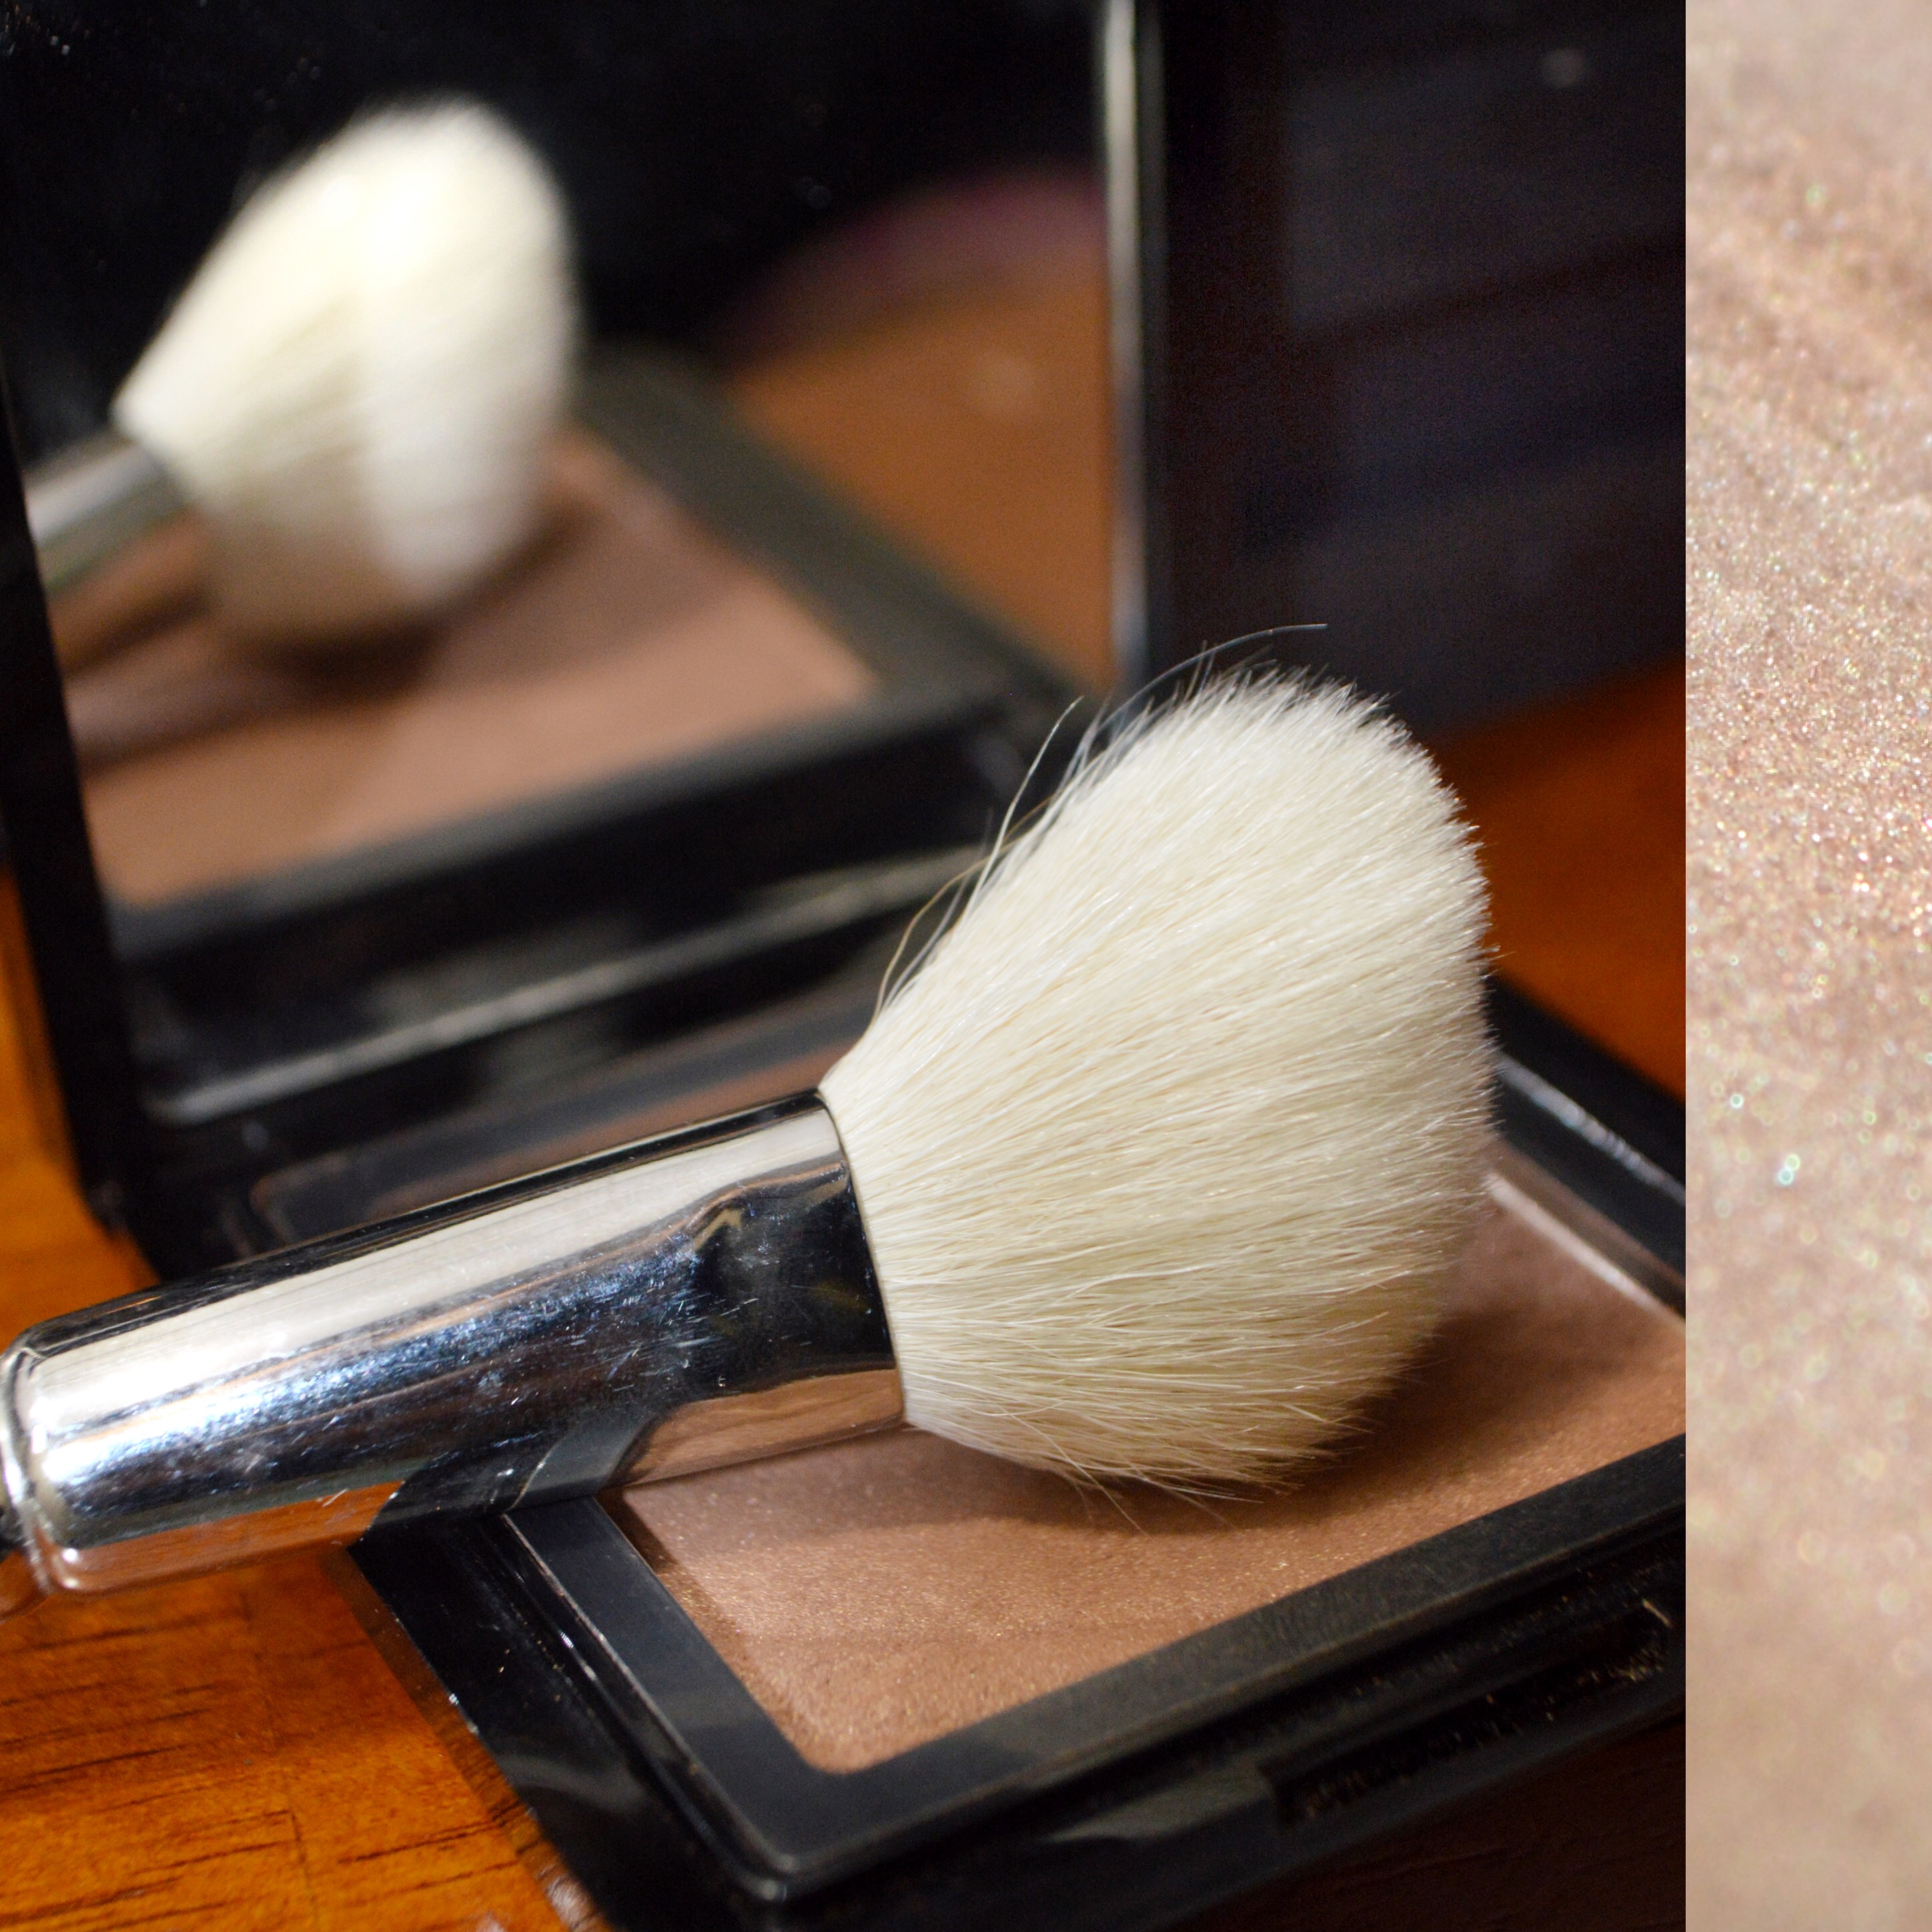
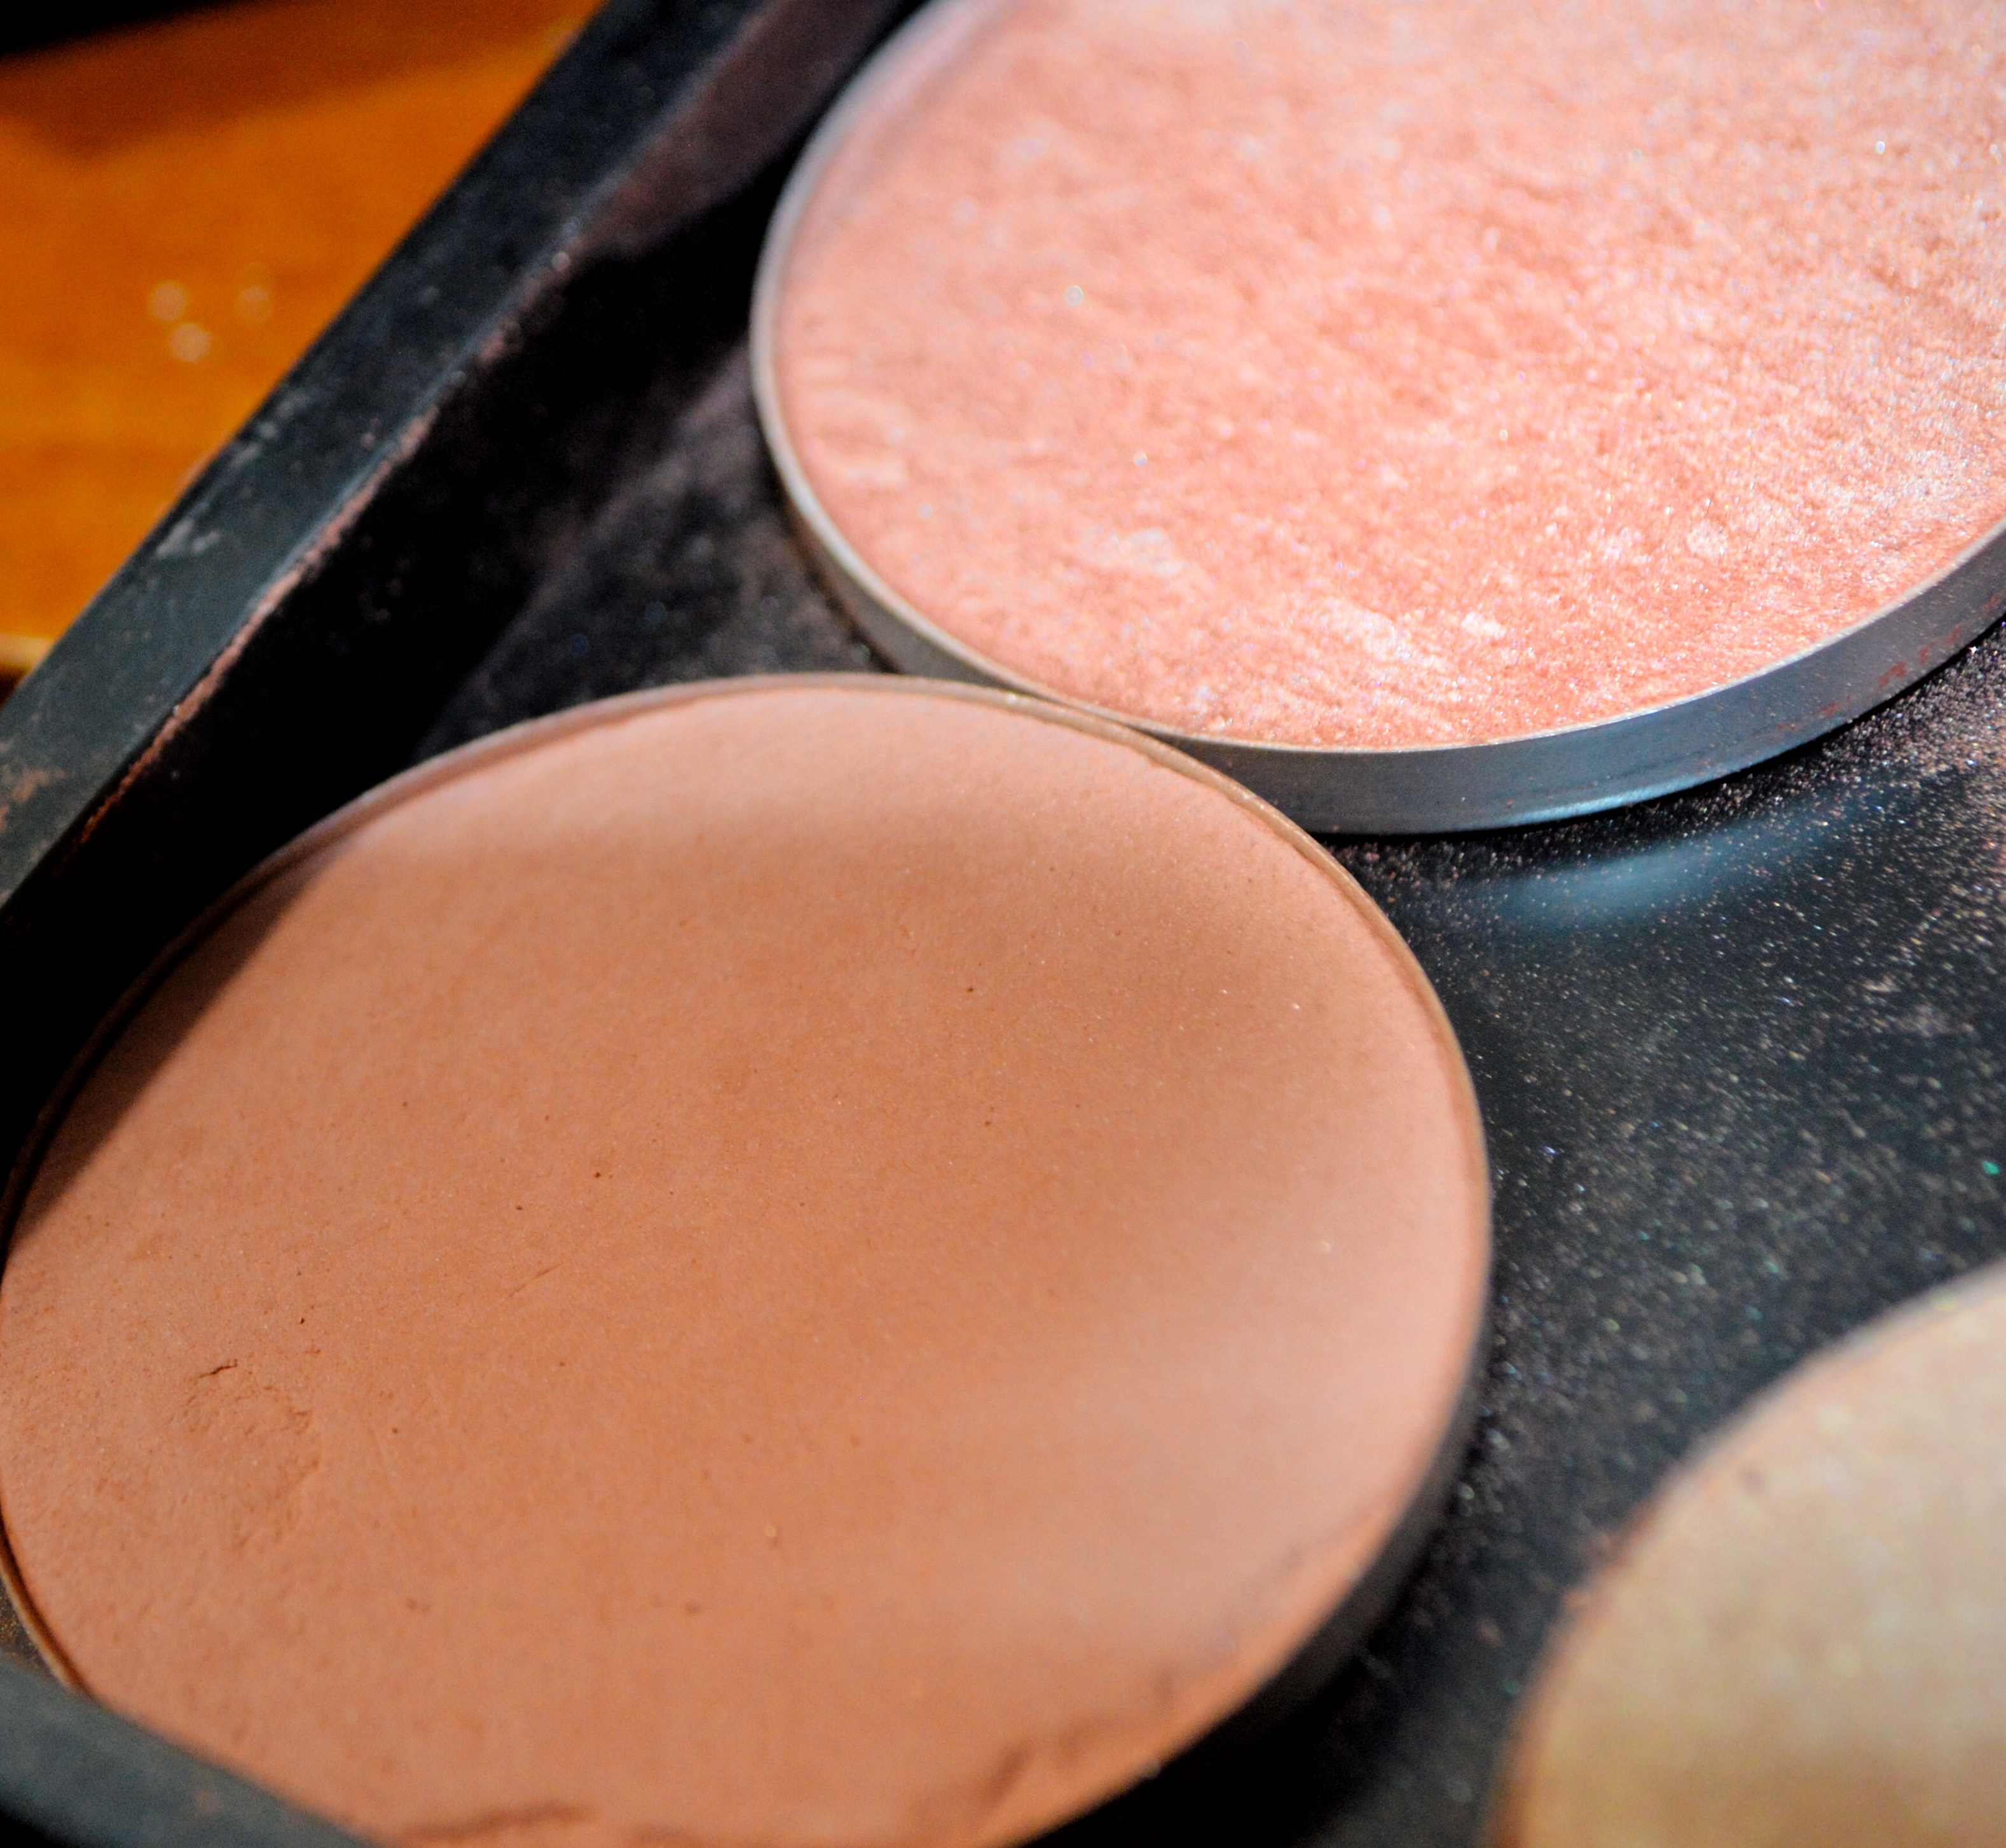
This is one of my favorite bronzers! Its called Tahiti from Buxom. Its got a nice brown tone with a little bit of sheen to it but not too much glitter or shimmer that it will throw off the rest of my makeup.
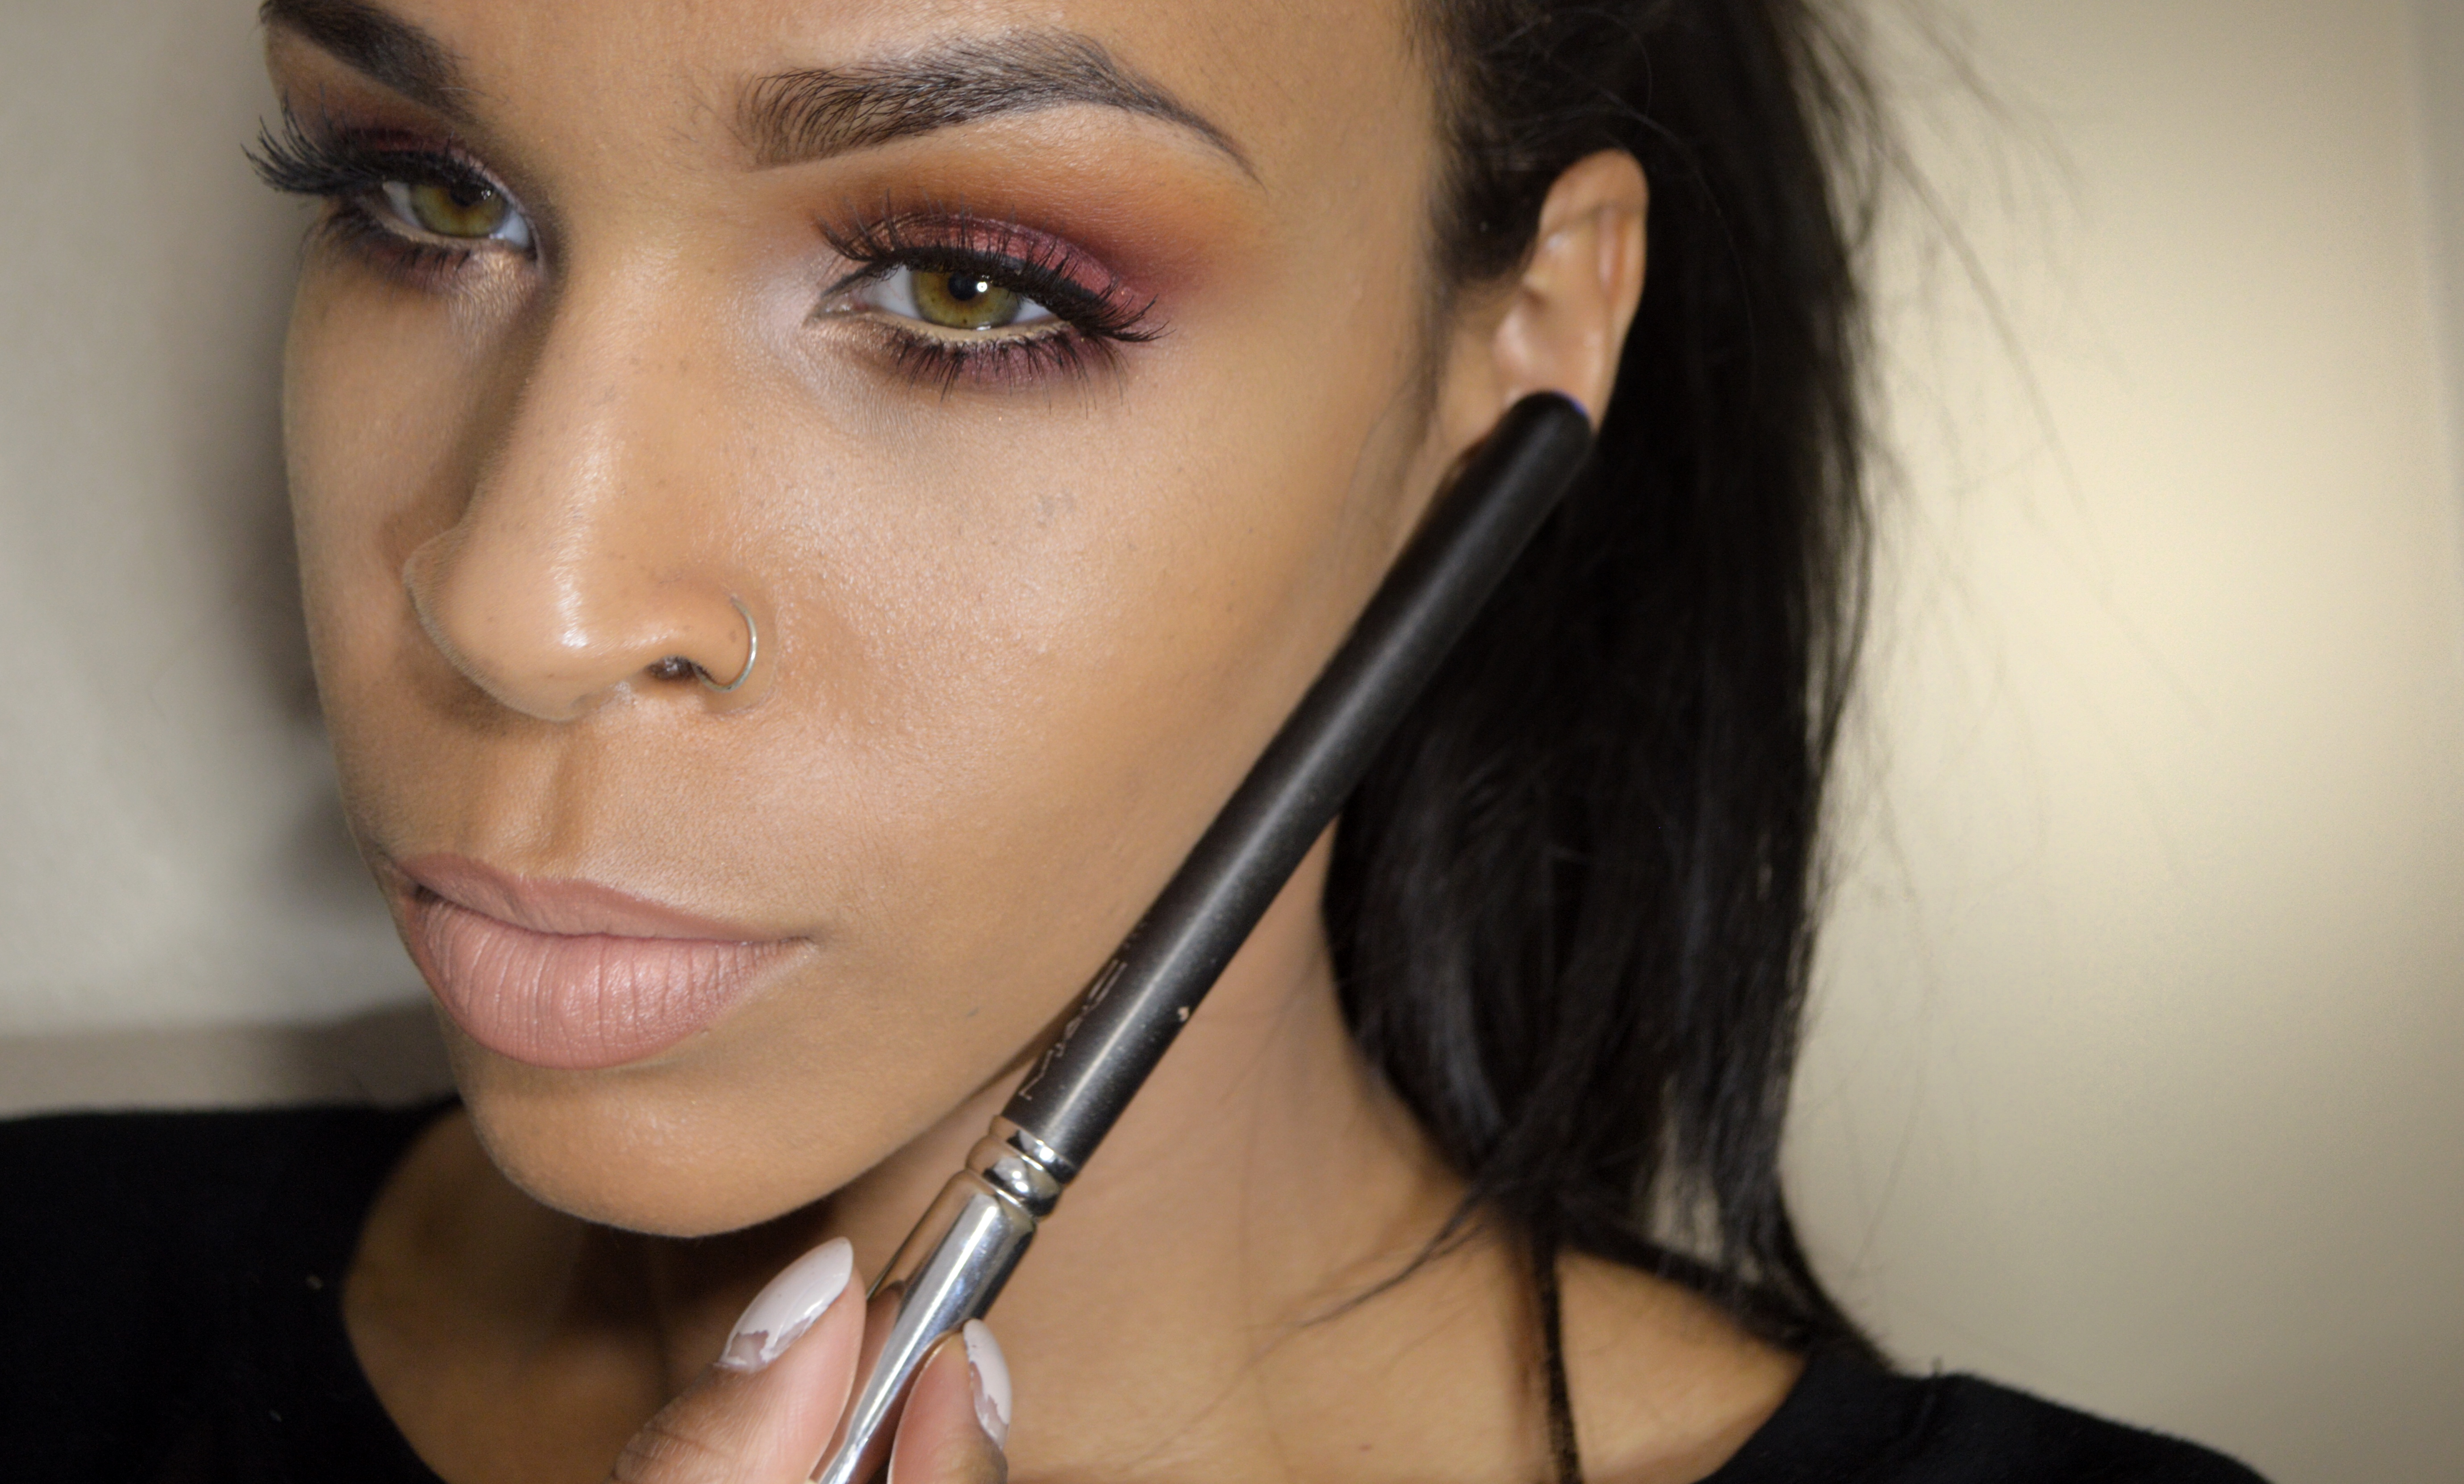
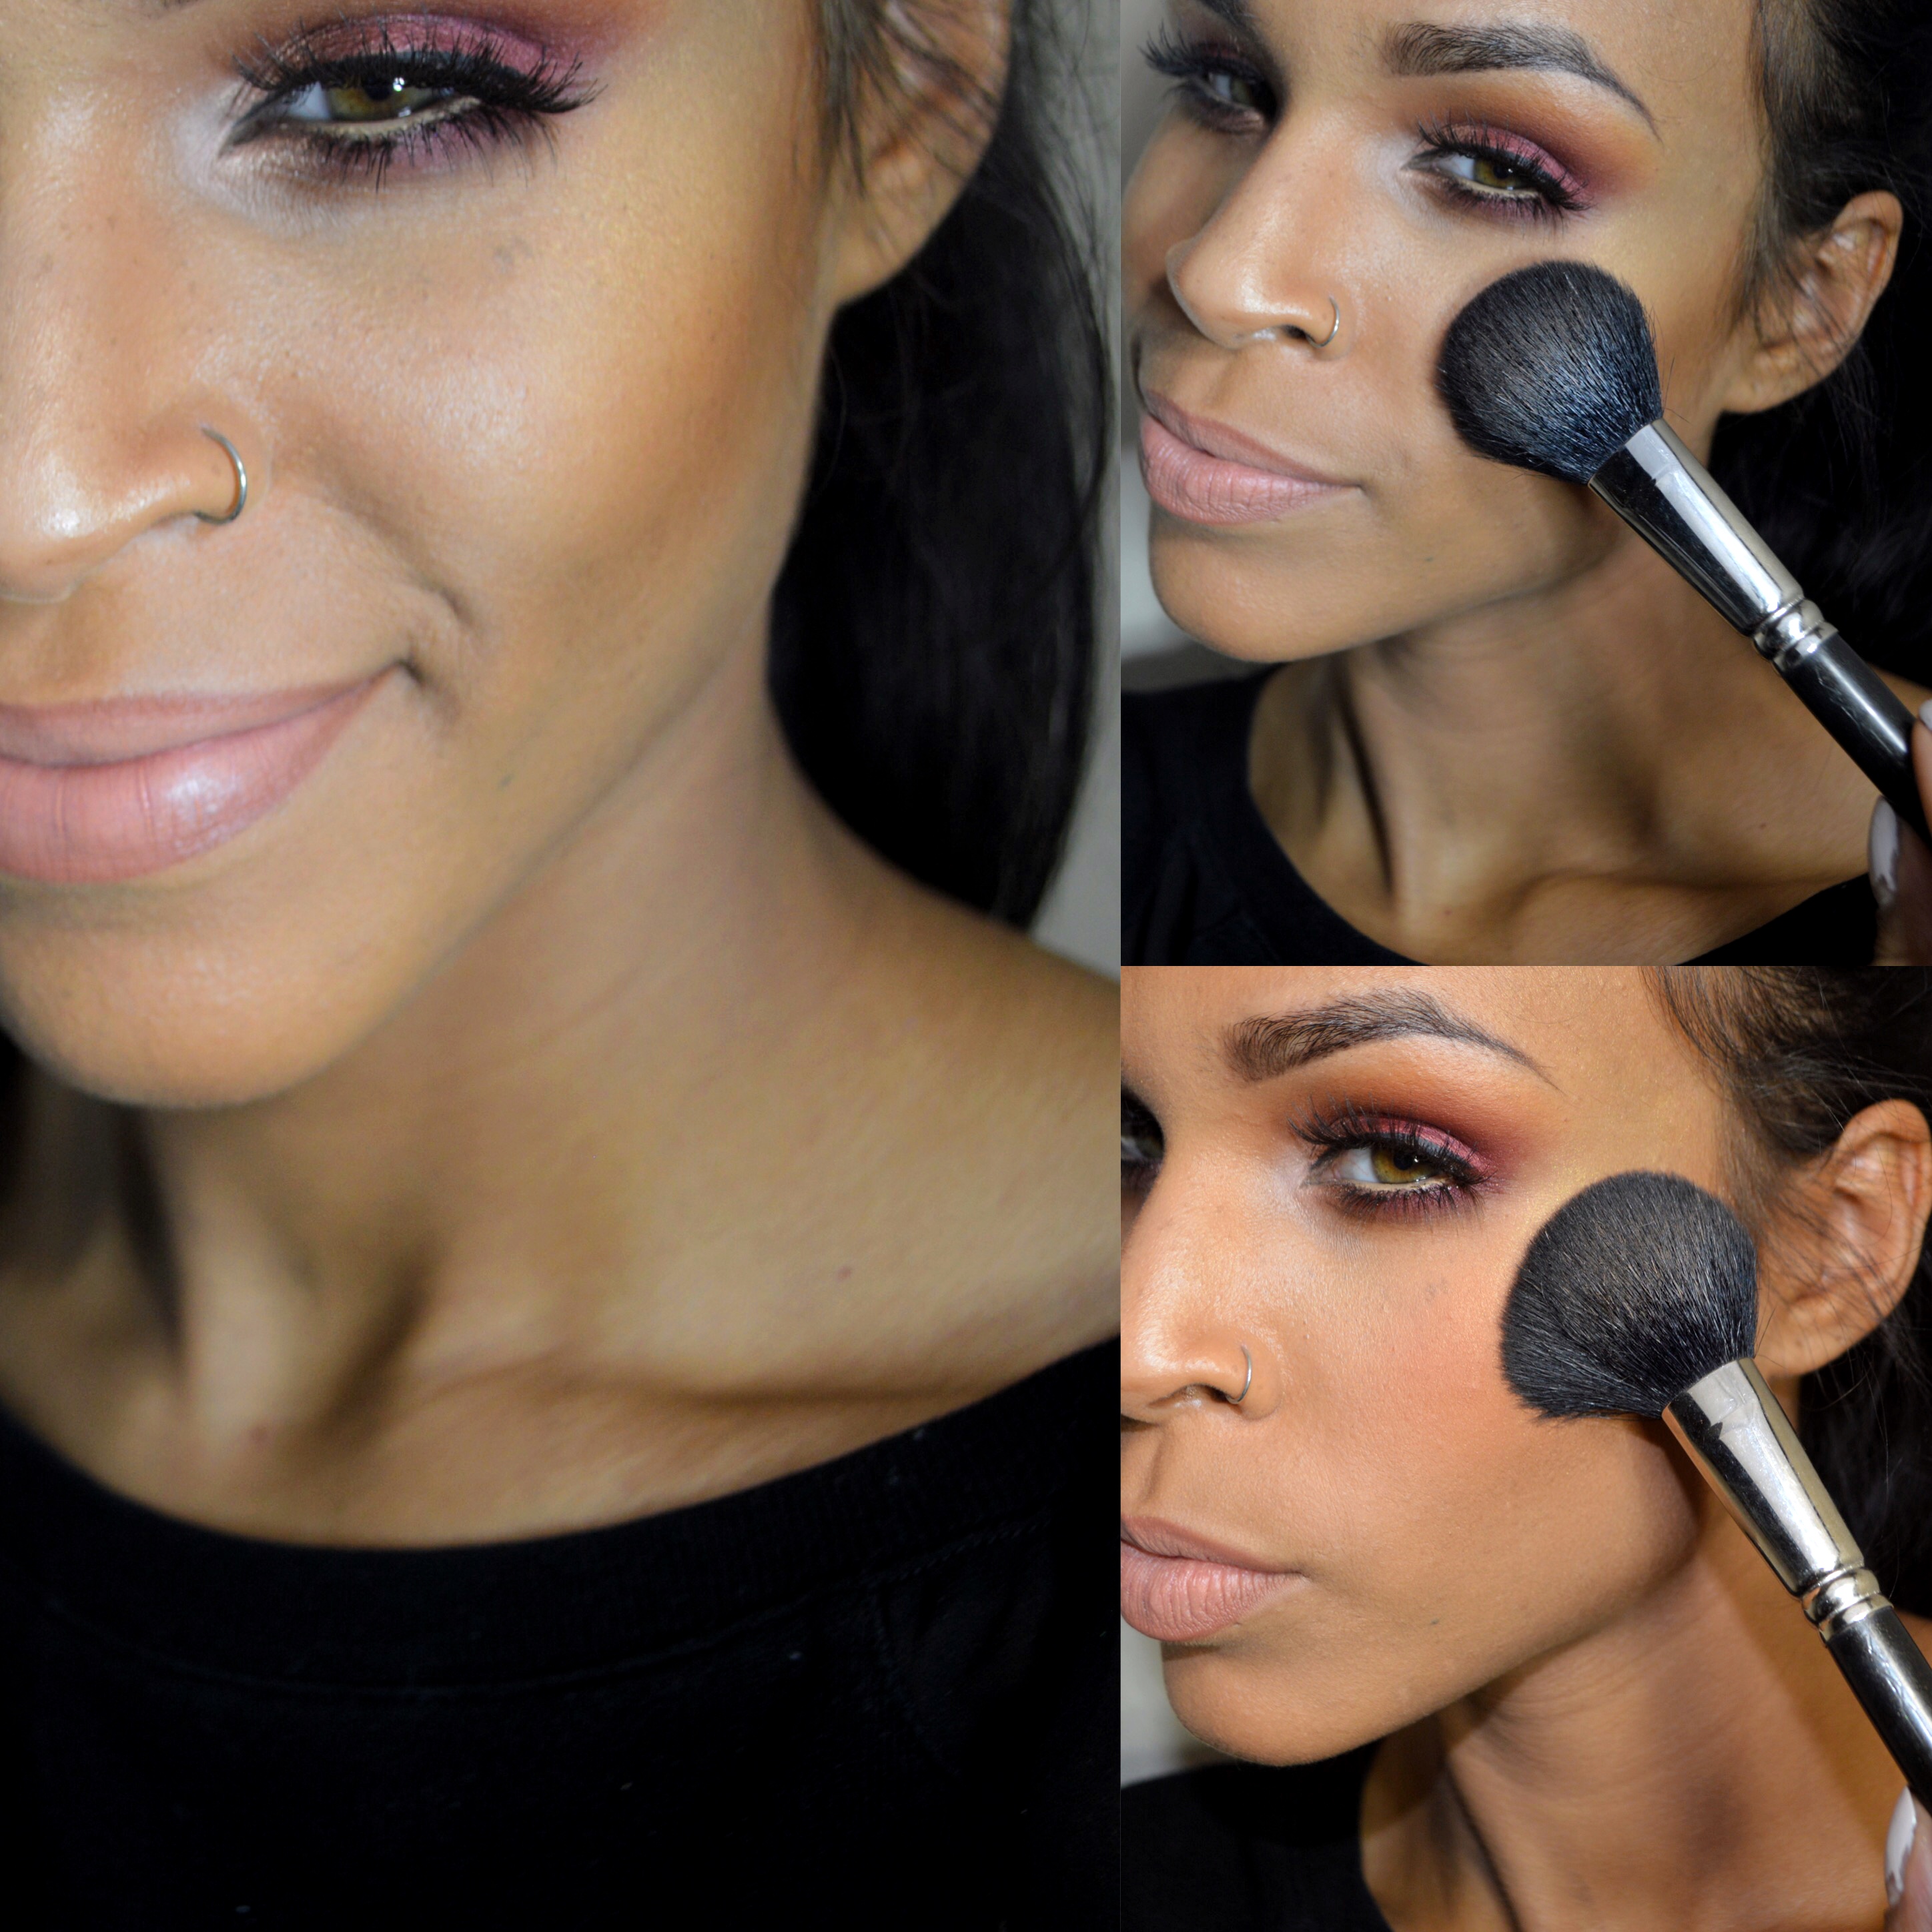
The first question people usually ask me about contouring is “How do you know where to put it?” The easiest guide that I’ve found for this is to take your brush and apply from the top of your ear and follow your cheekbone diagonally down towards your mouth.
…Don’t mind my chipped nails it was a long week
I like to start directly above the ear right in the hair line. Starting at the hairline will give a more blended finish and mimic the true shadow of a contour we’re trying to create. Use small circle motions at first as you’re blending the contour down so that you will have the most color and depth closer to the outer edge of your face, versus one harsh line from start to finish if you’re just dragging the brush back and forth in sweeping motions. I repeat this step two to three times to build the color, but between each application I step back and take a look at how much color I’ve put down to make sure it’s not getting too heavy.
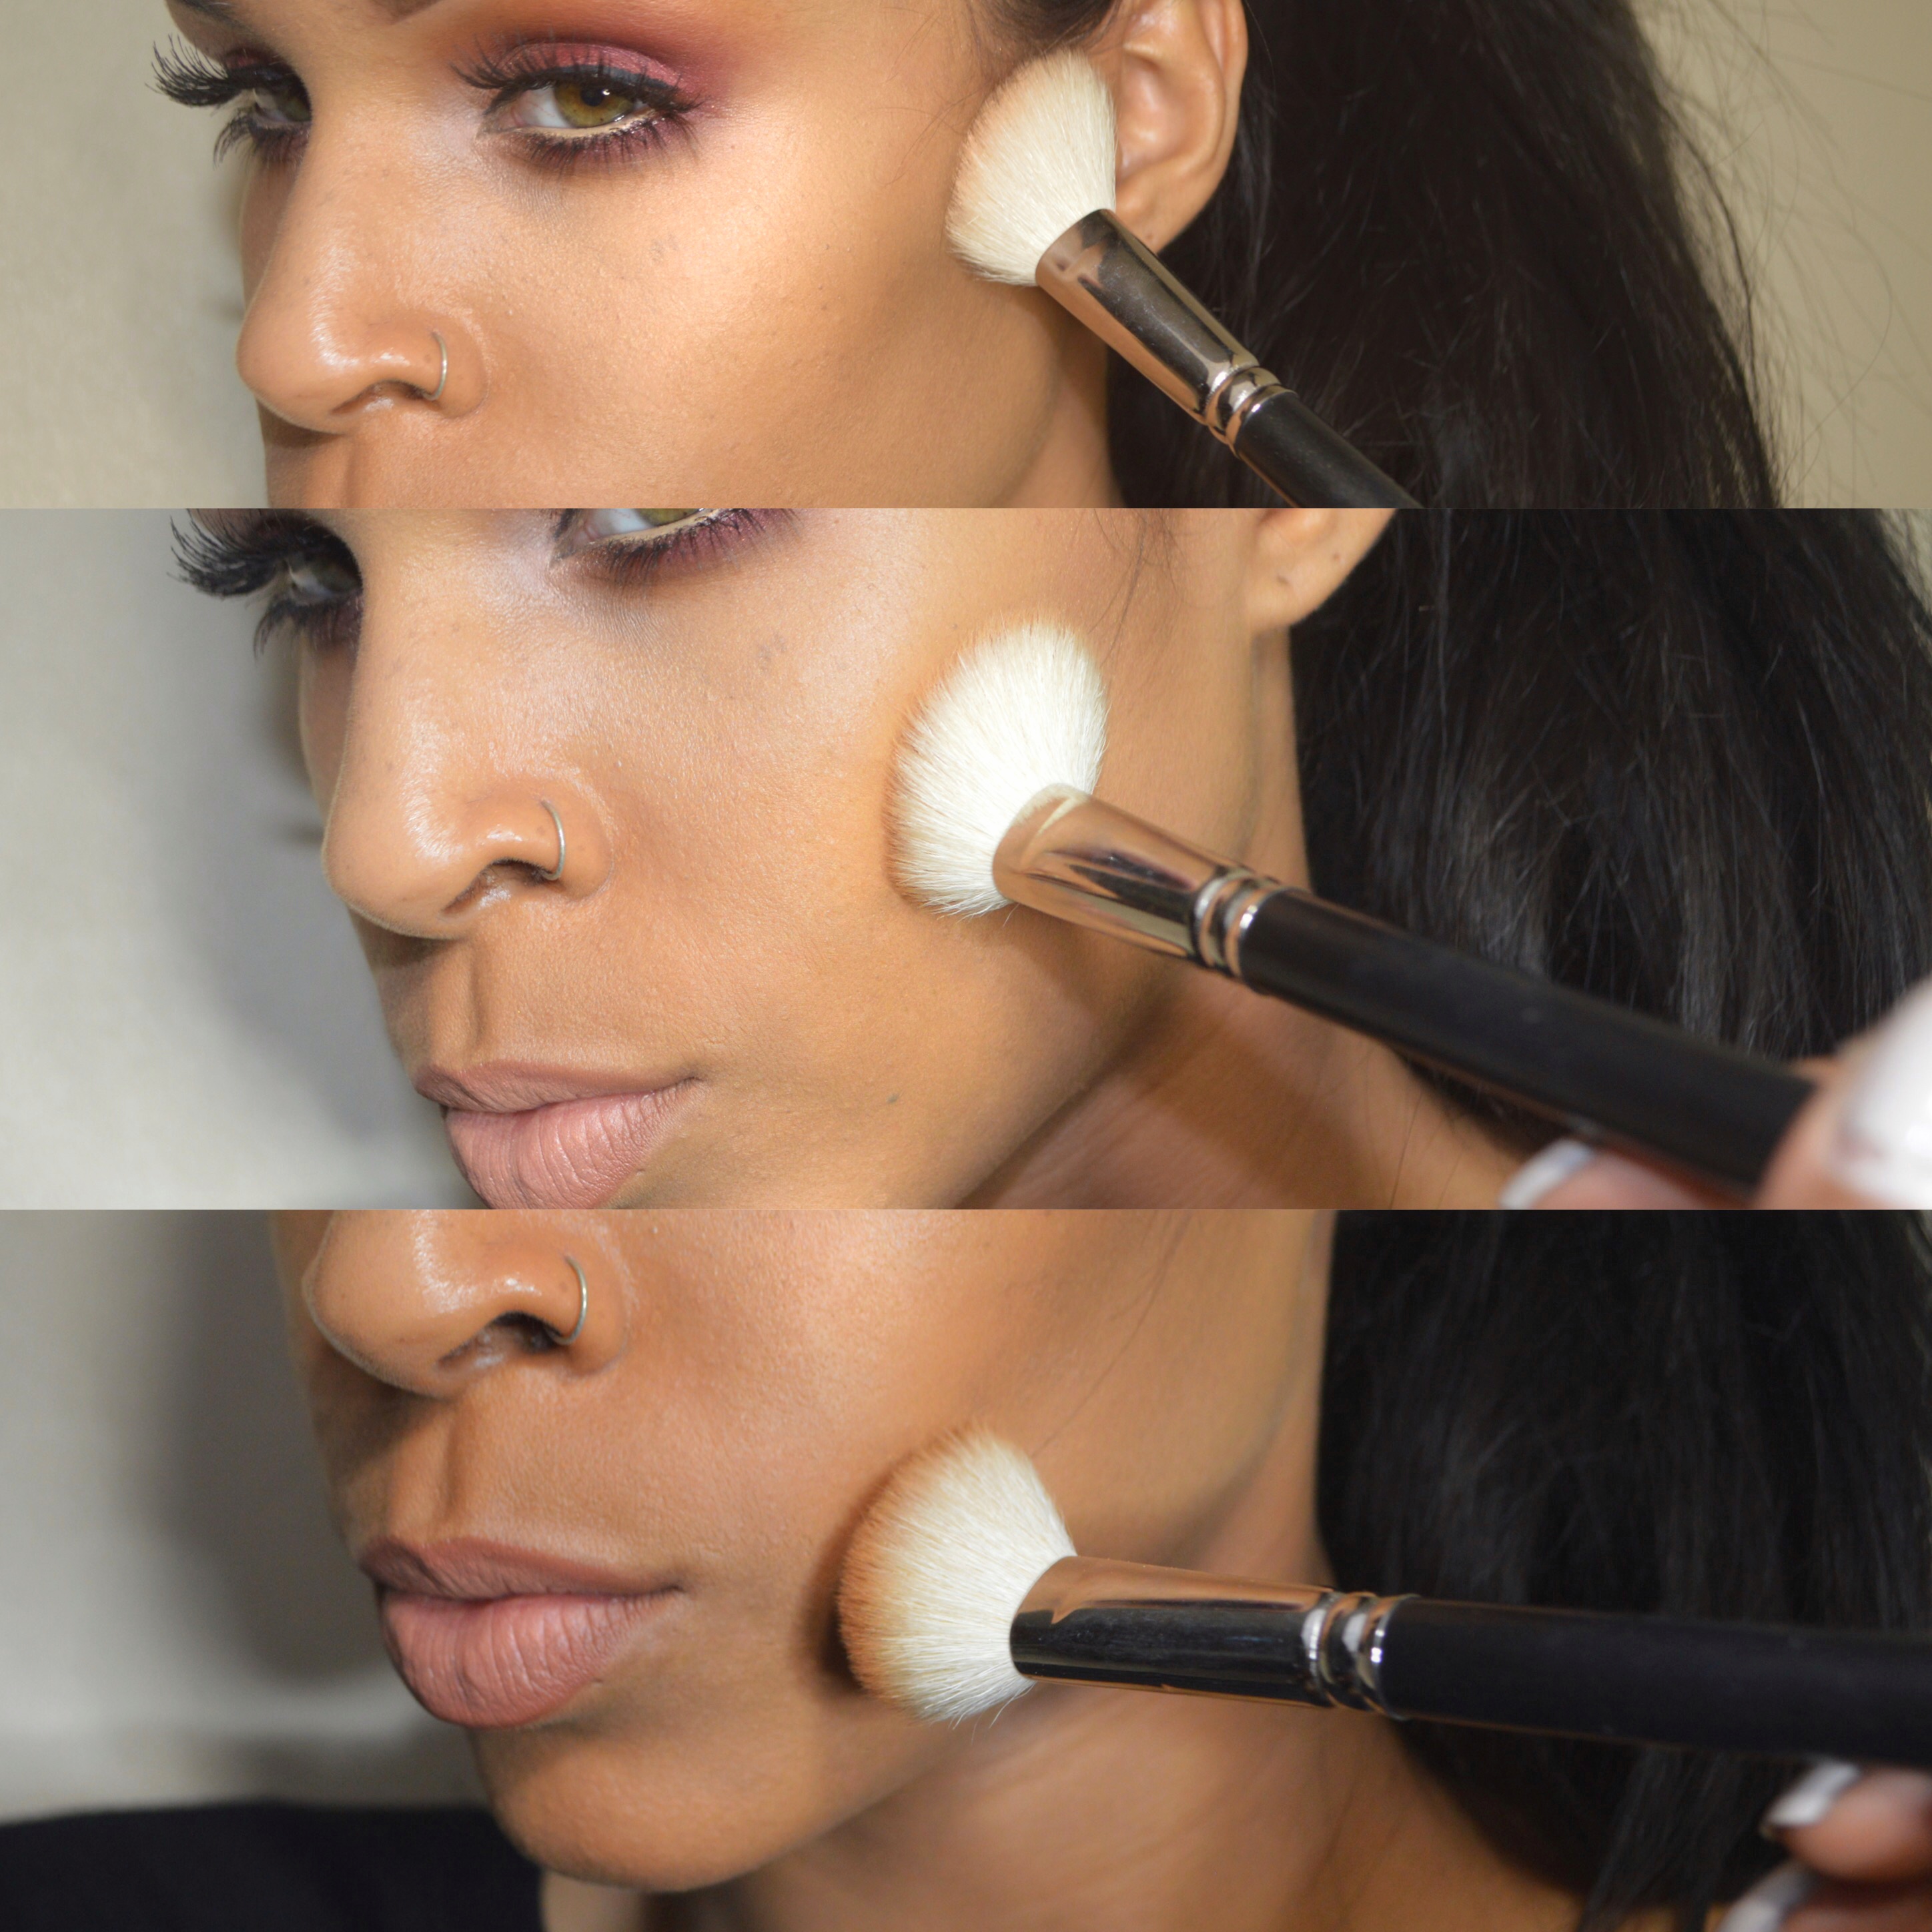
The easiest step in all of this is after the cheekbones are done take your brush and using less product than you did for your contour lightly dust your contour color around the jawline and forehead. This frames the face and adds a little extra color.
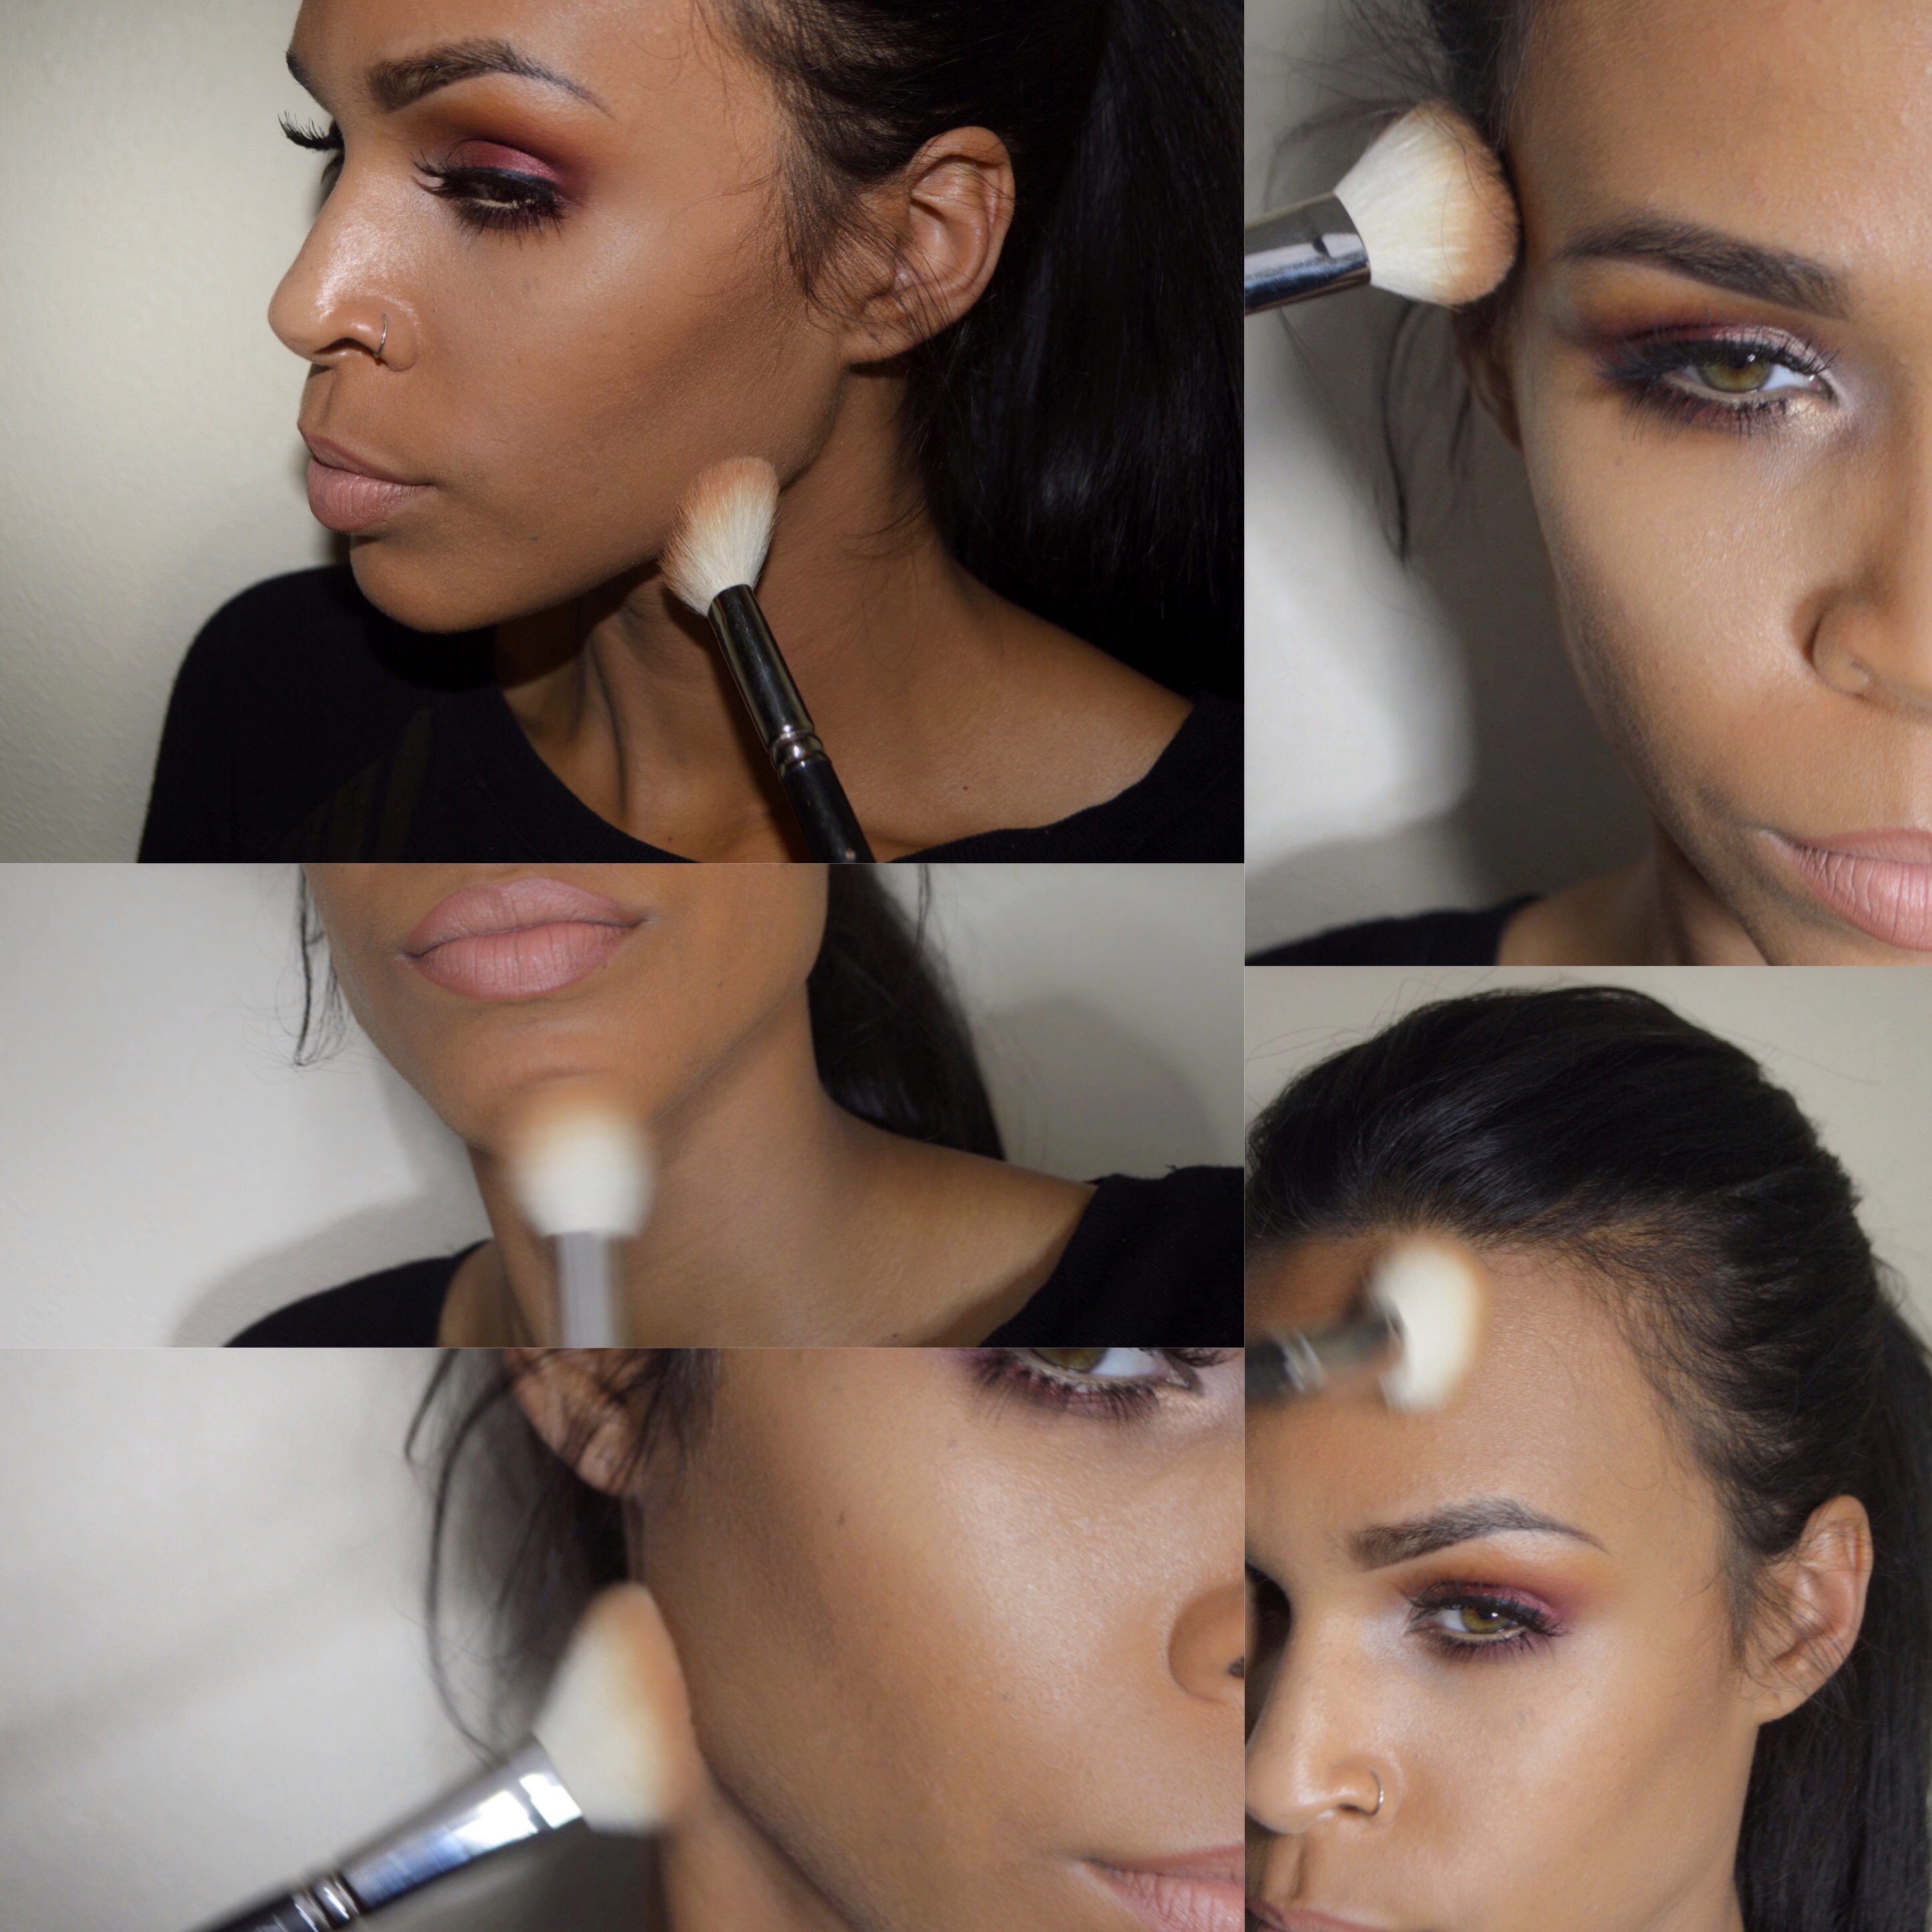
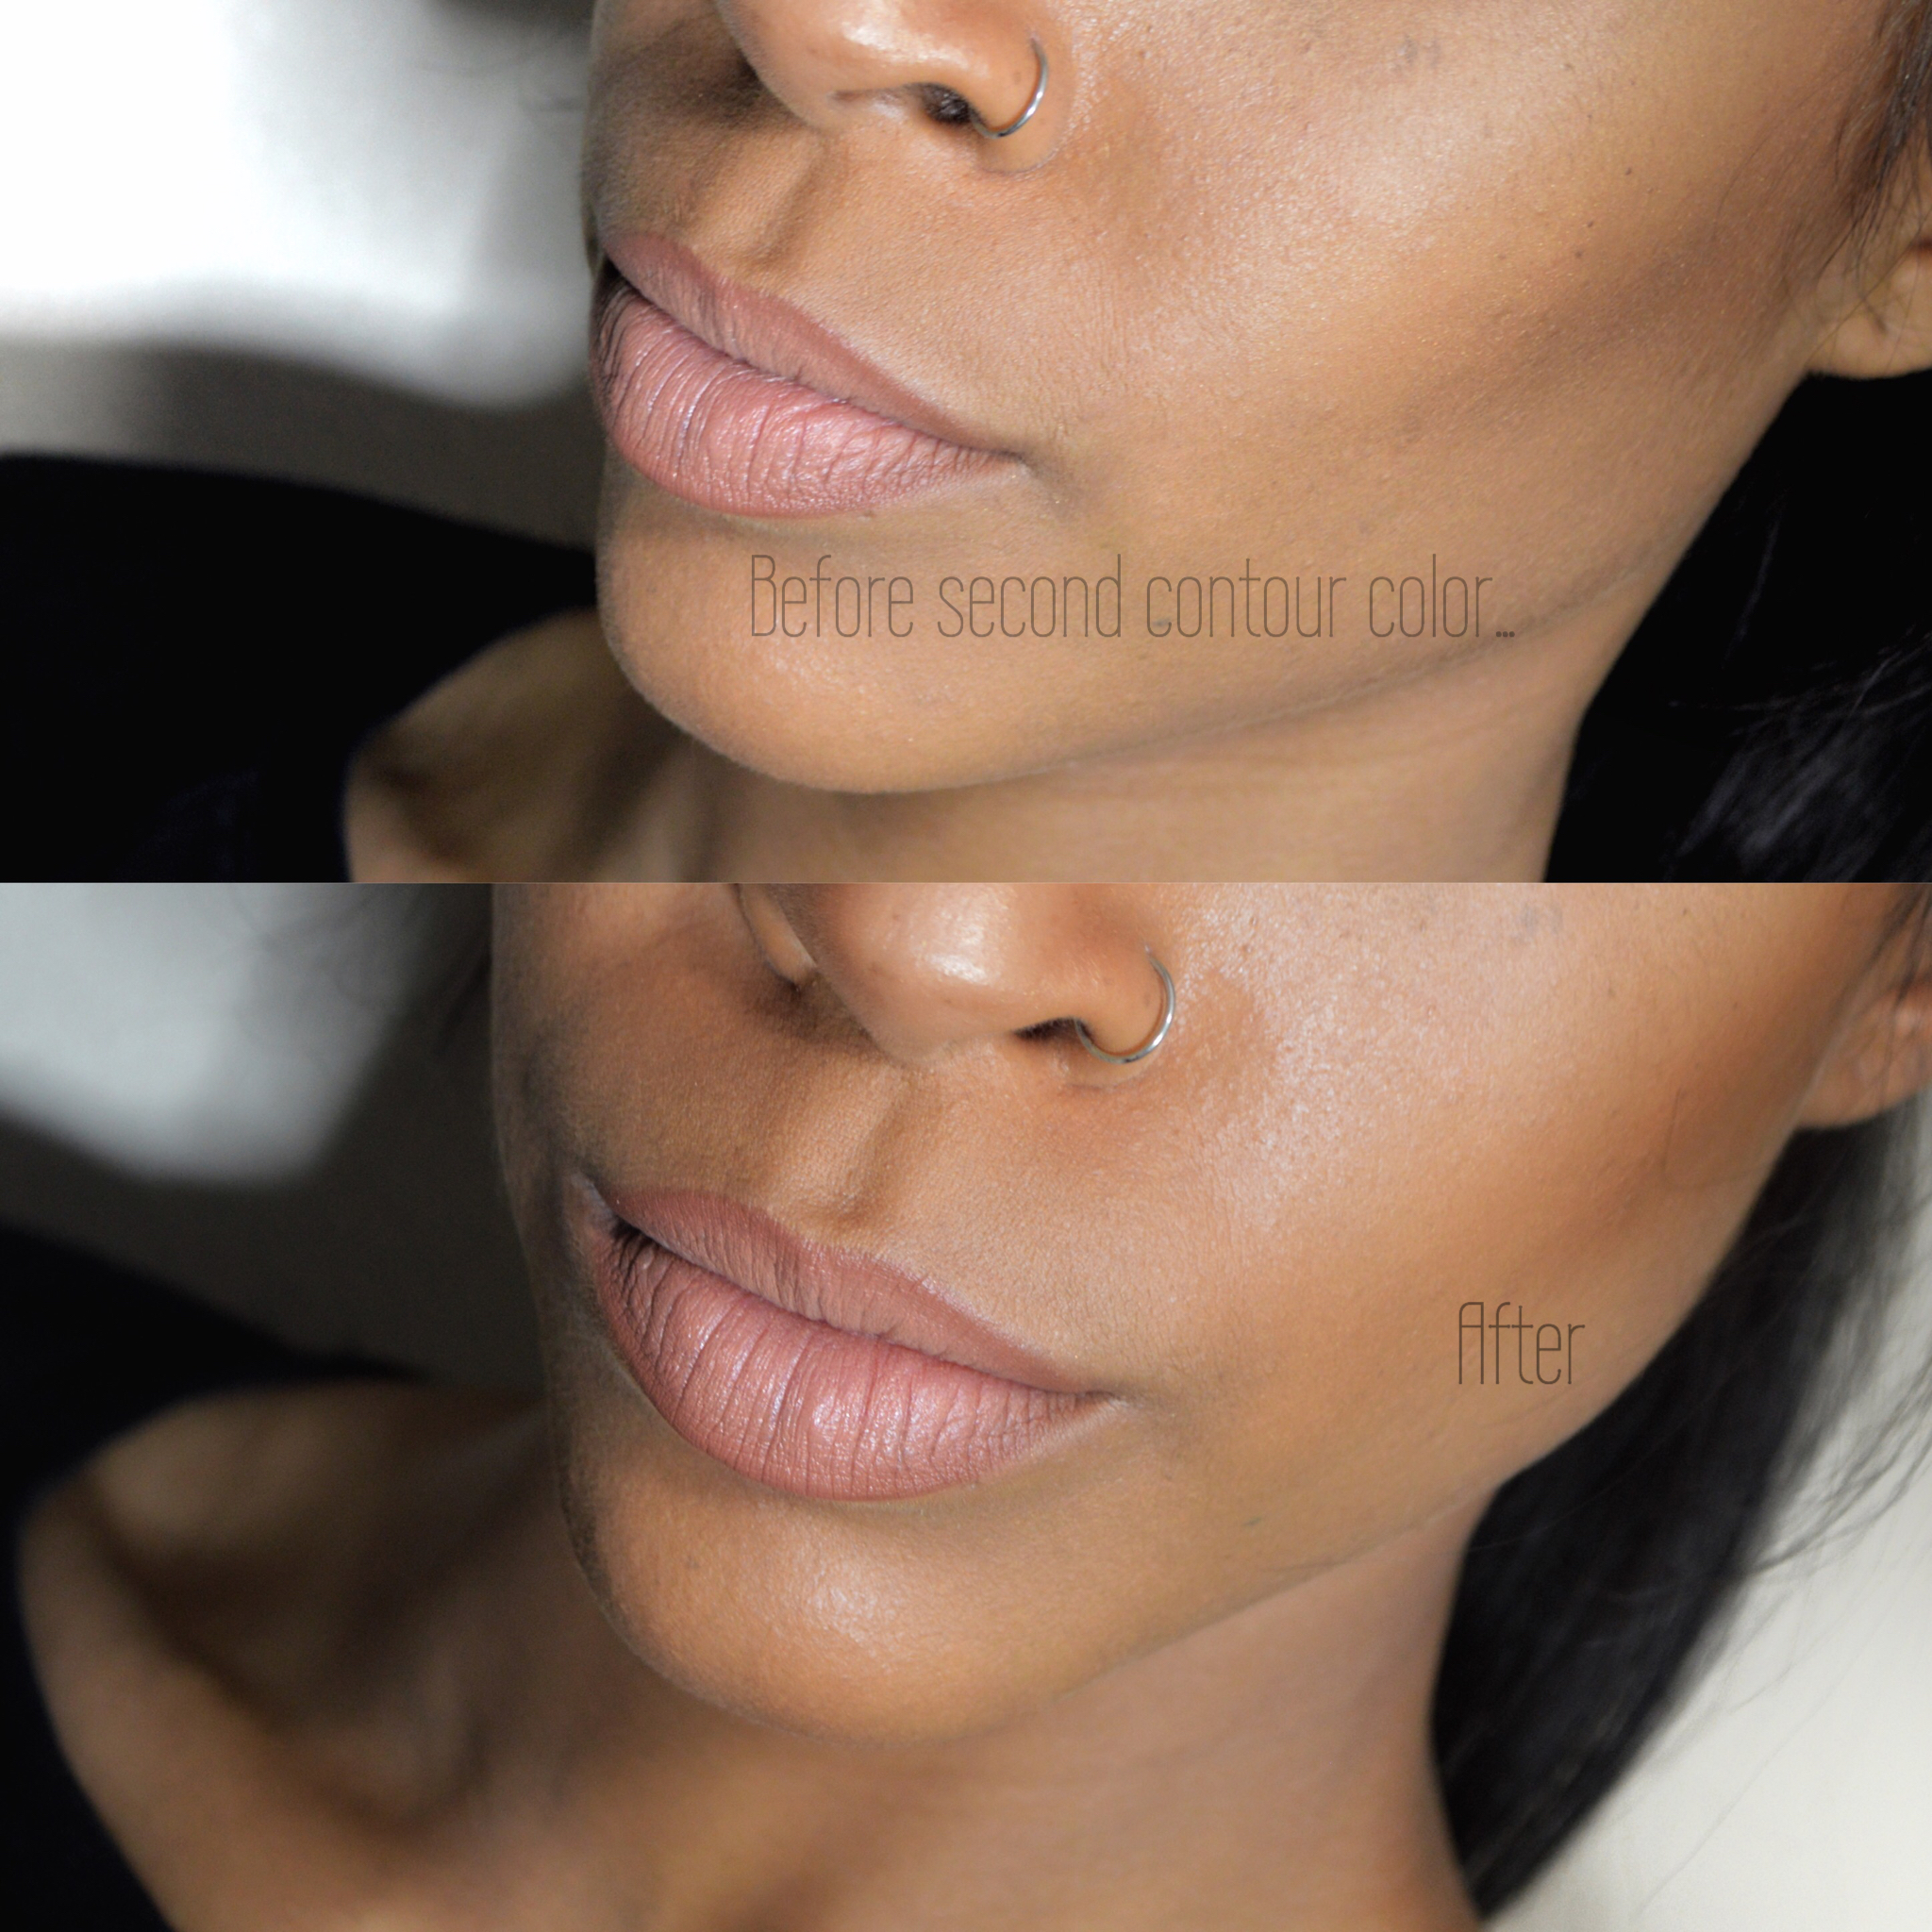
Since I personally like a heavy contour on my cheeks sometimes I’ll go back in with a darker color just to add a little extra definition. Most of the time I use Uninterrupted Prolongwear Eyeshadow from MAC.

Here’s a little comparison
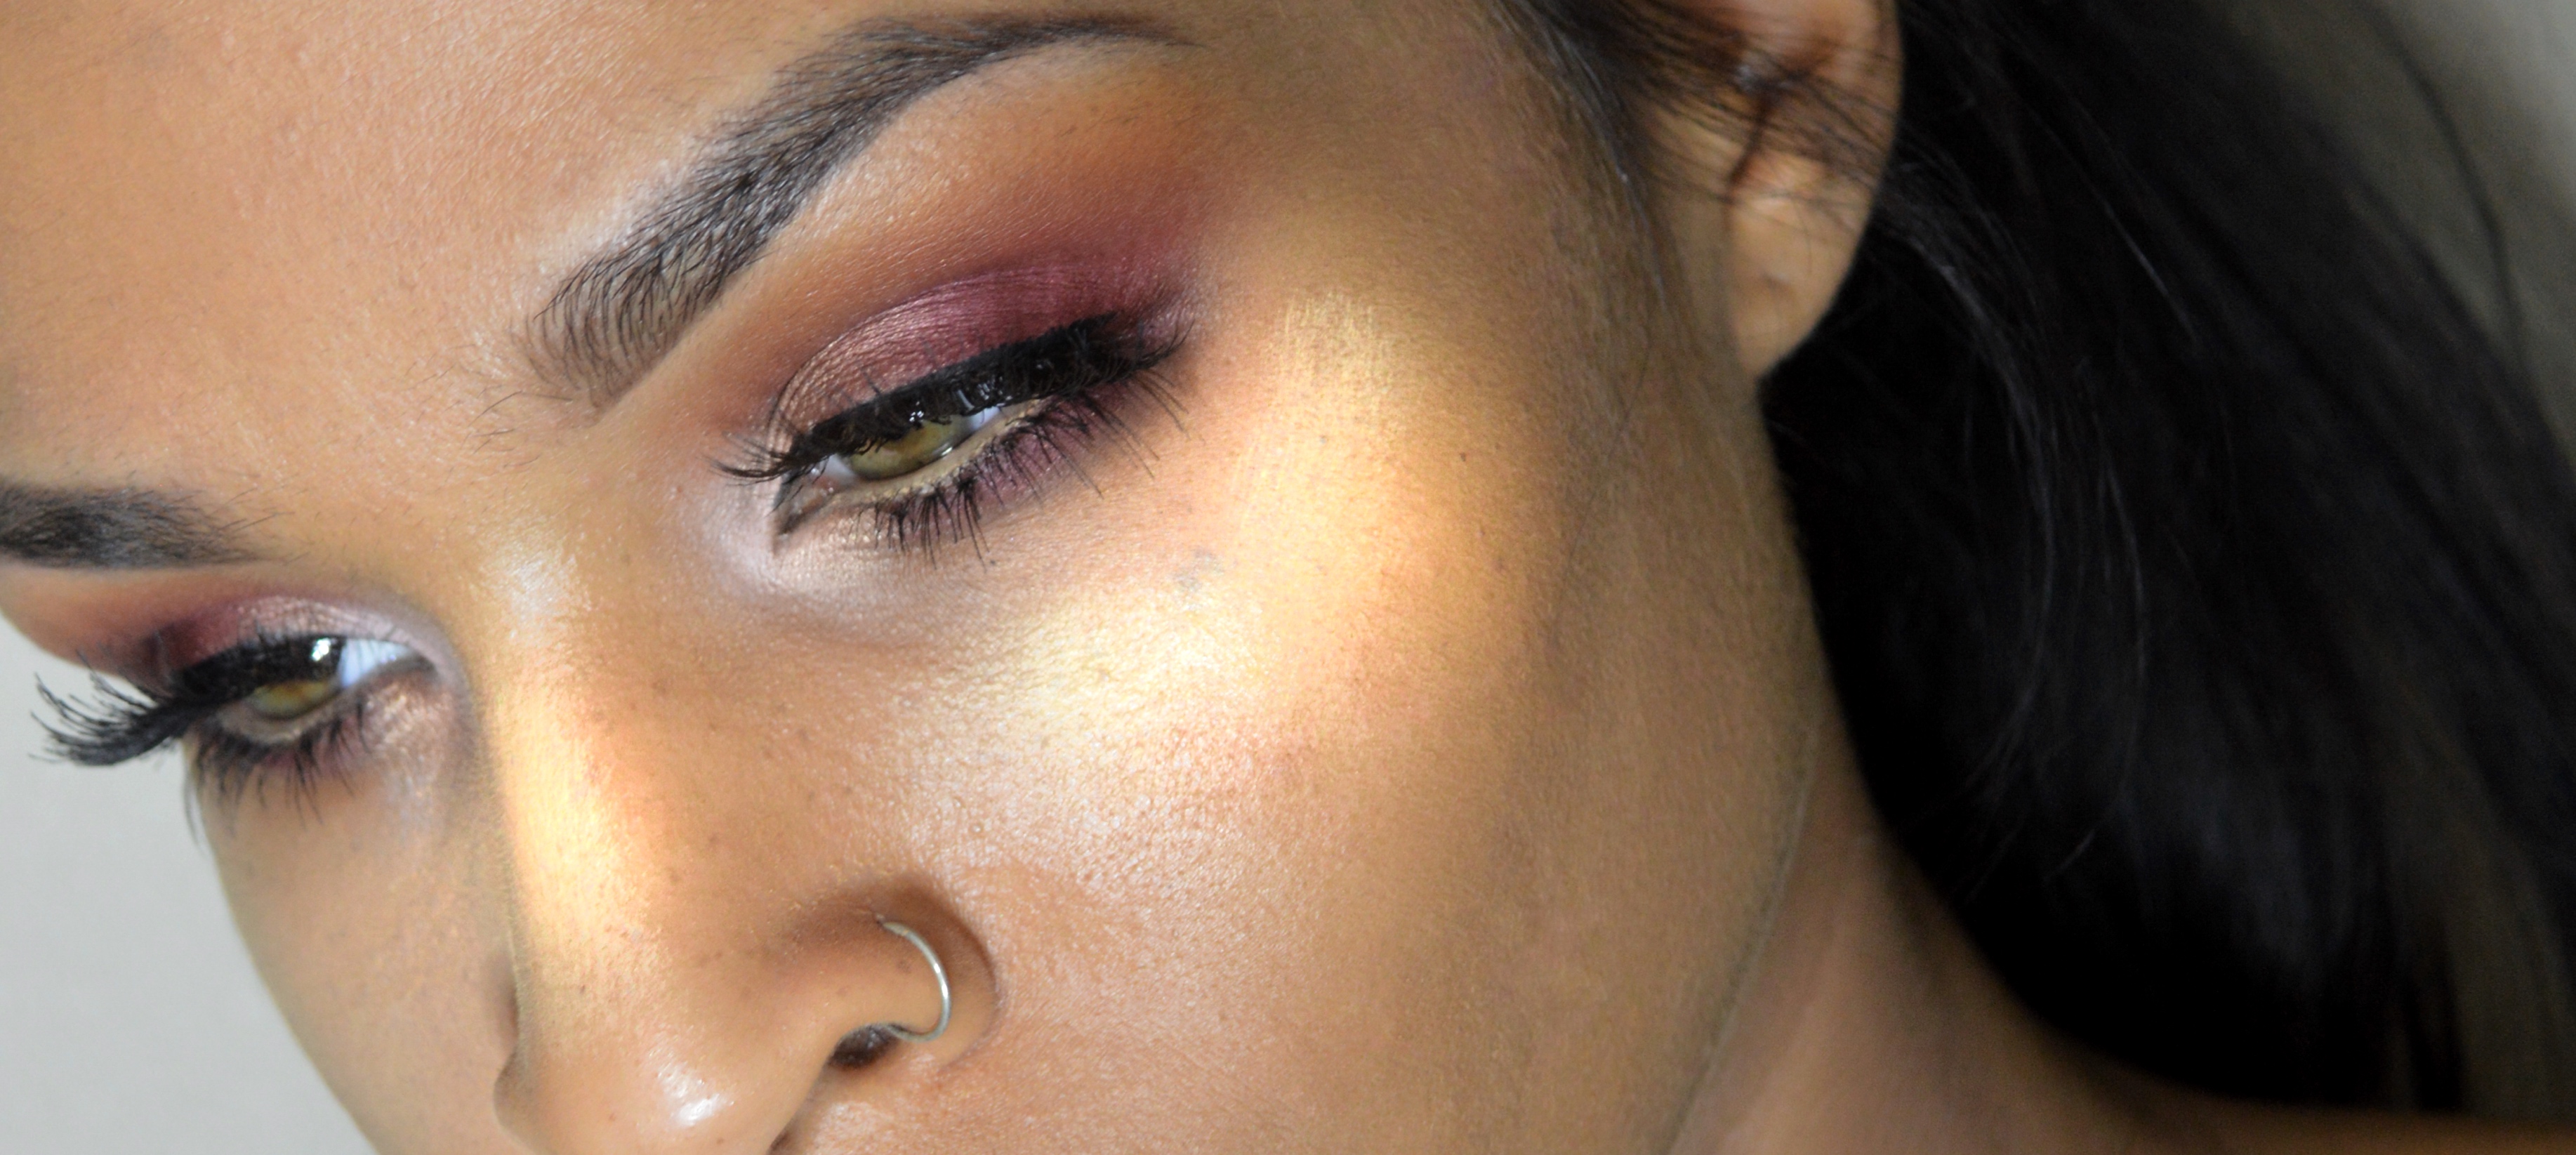
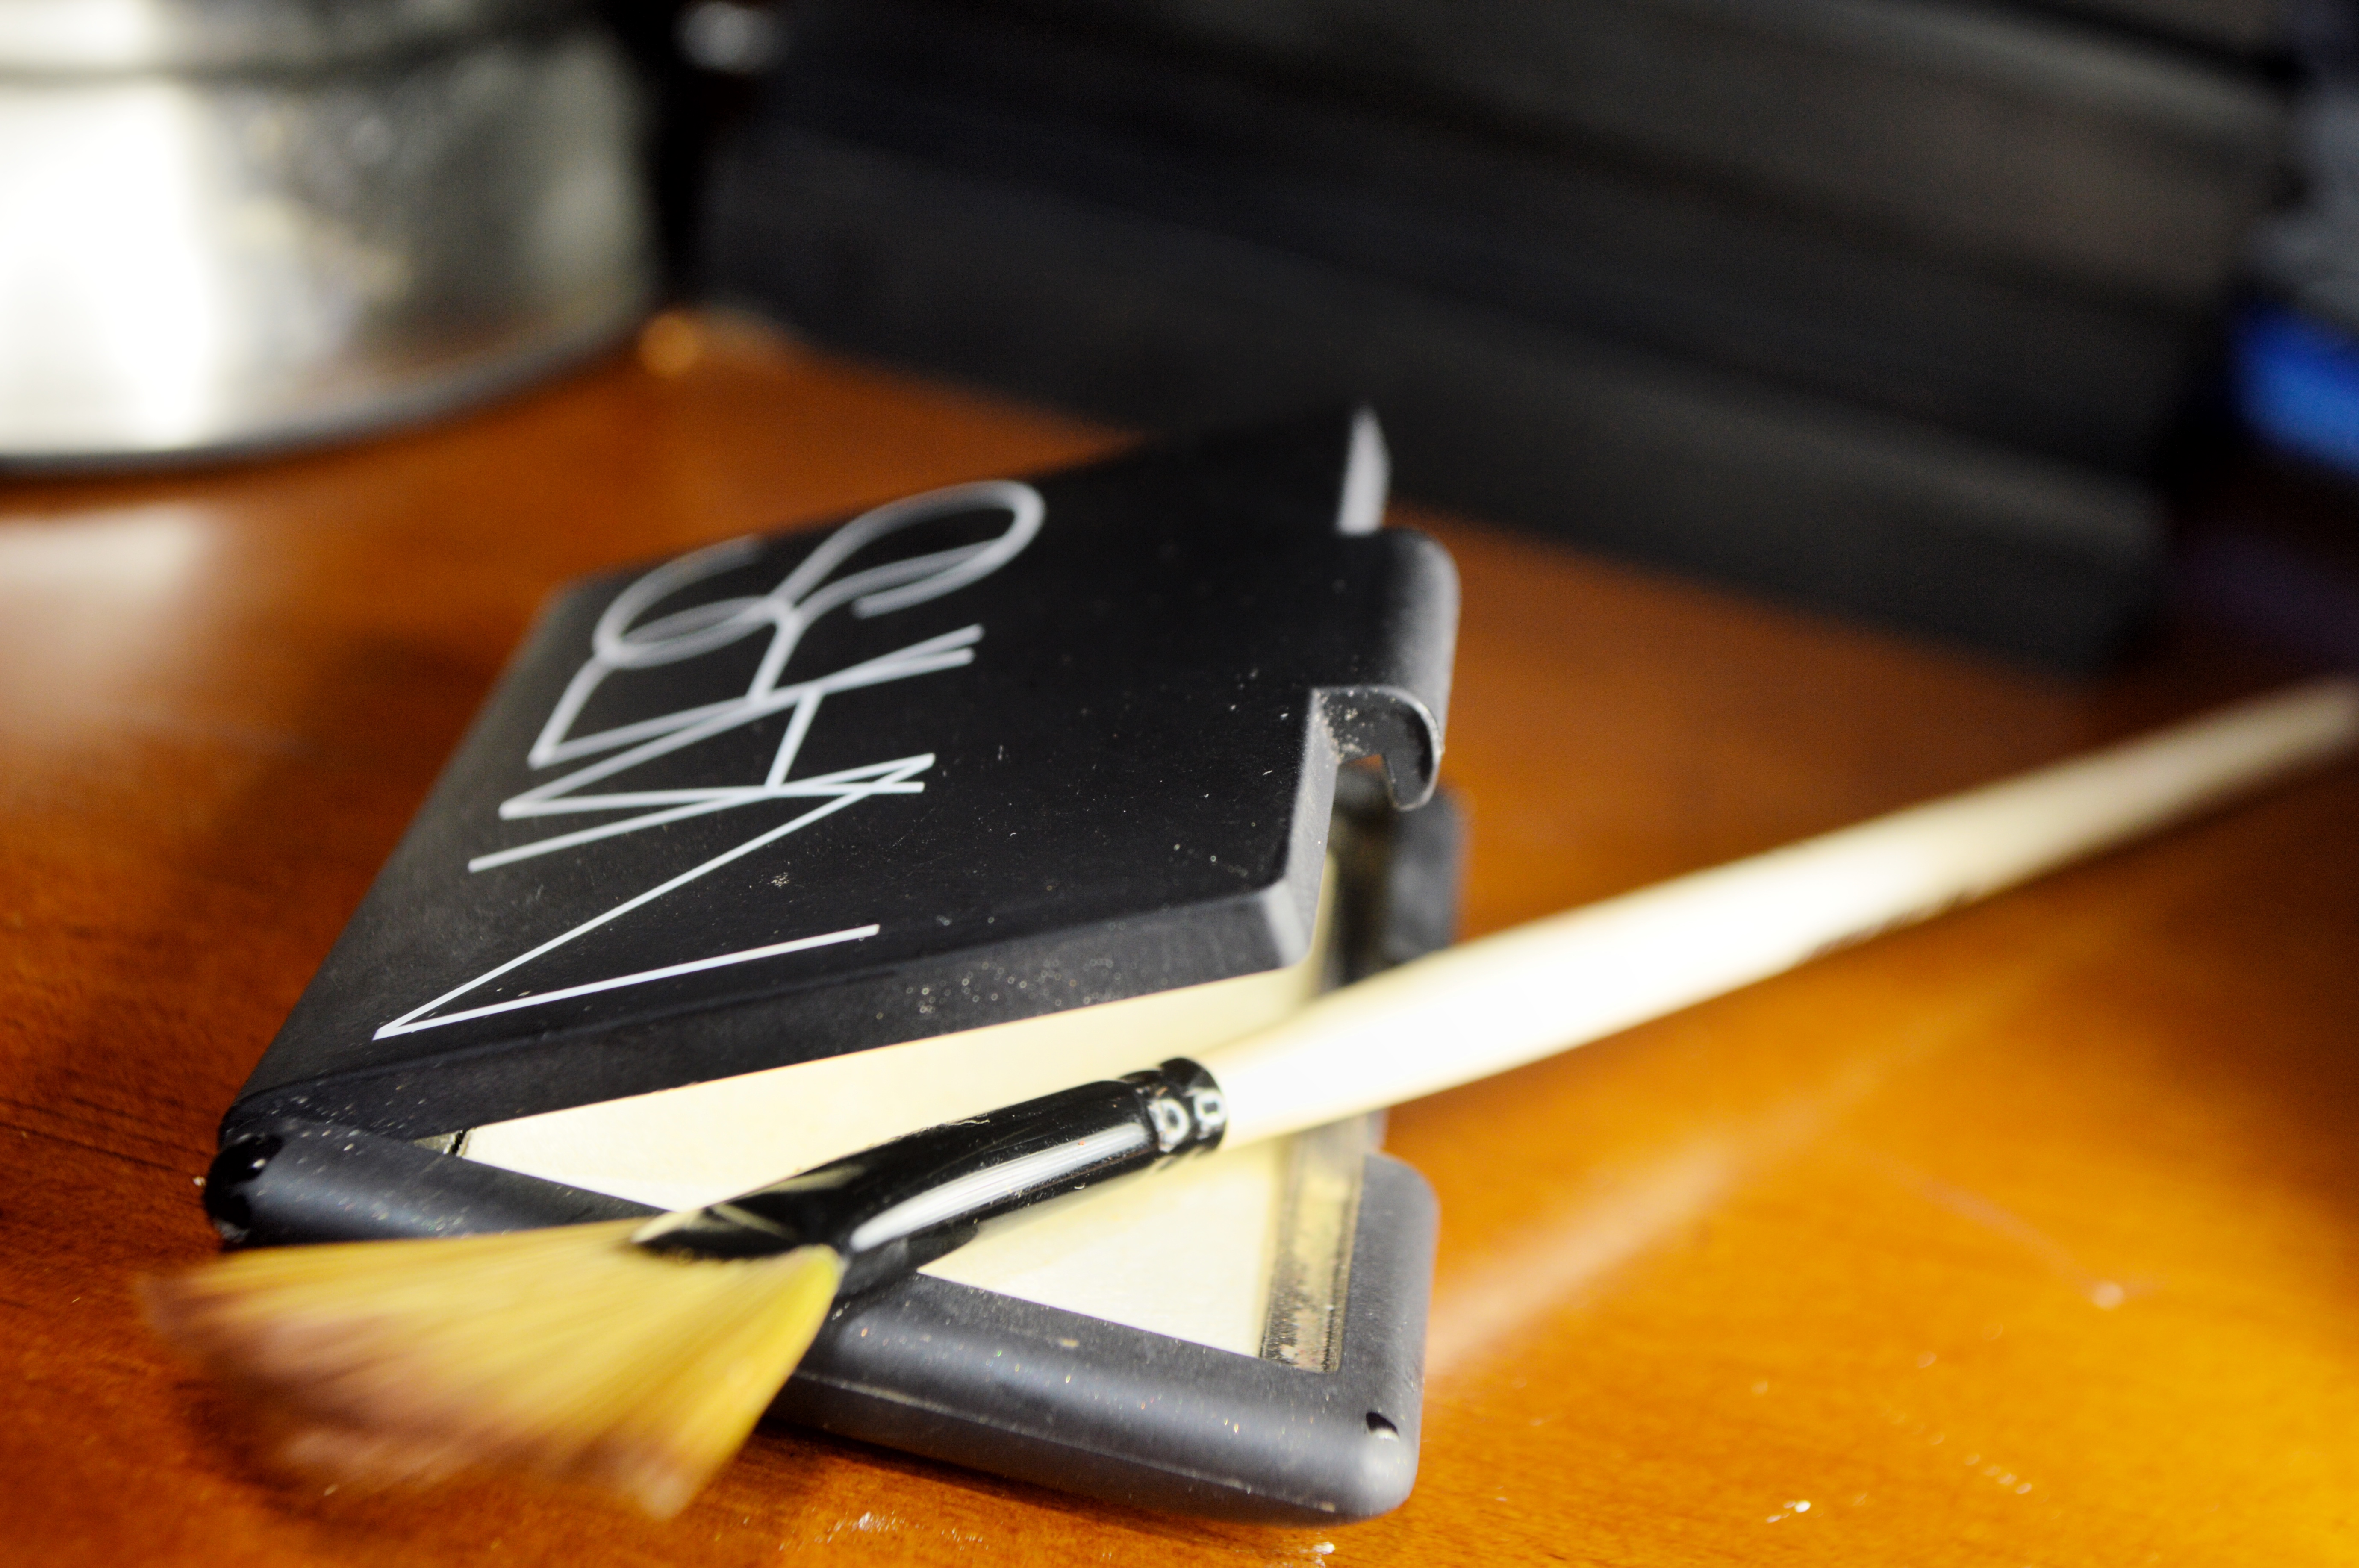
Now we highlight! Another one of my favorites is Albatross from Nars. This color looks close to white in the container but it has a heavy golden yellow tone to it that I think looks amazing on just about everyone.
Where does it go?
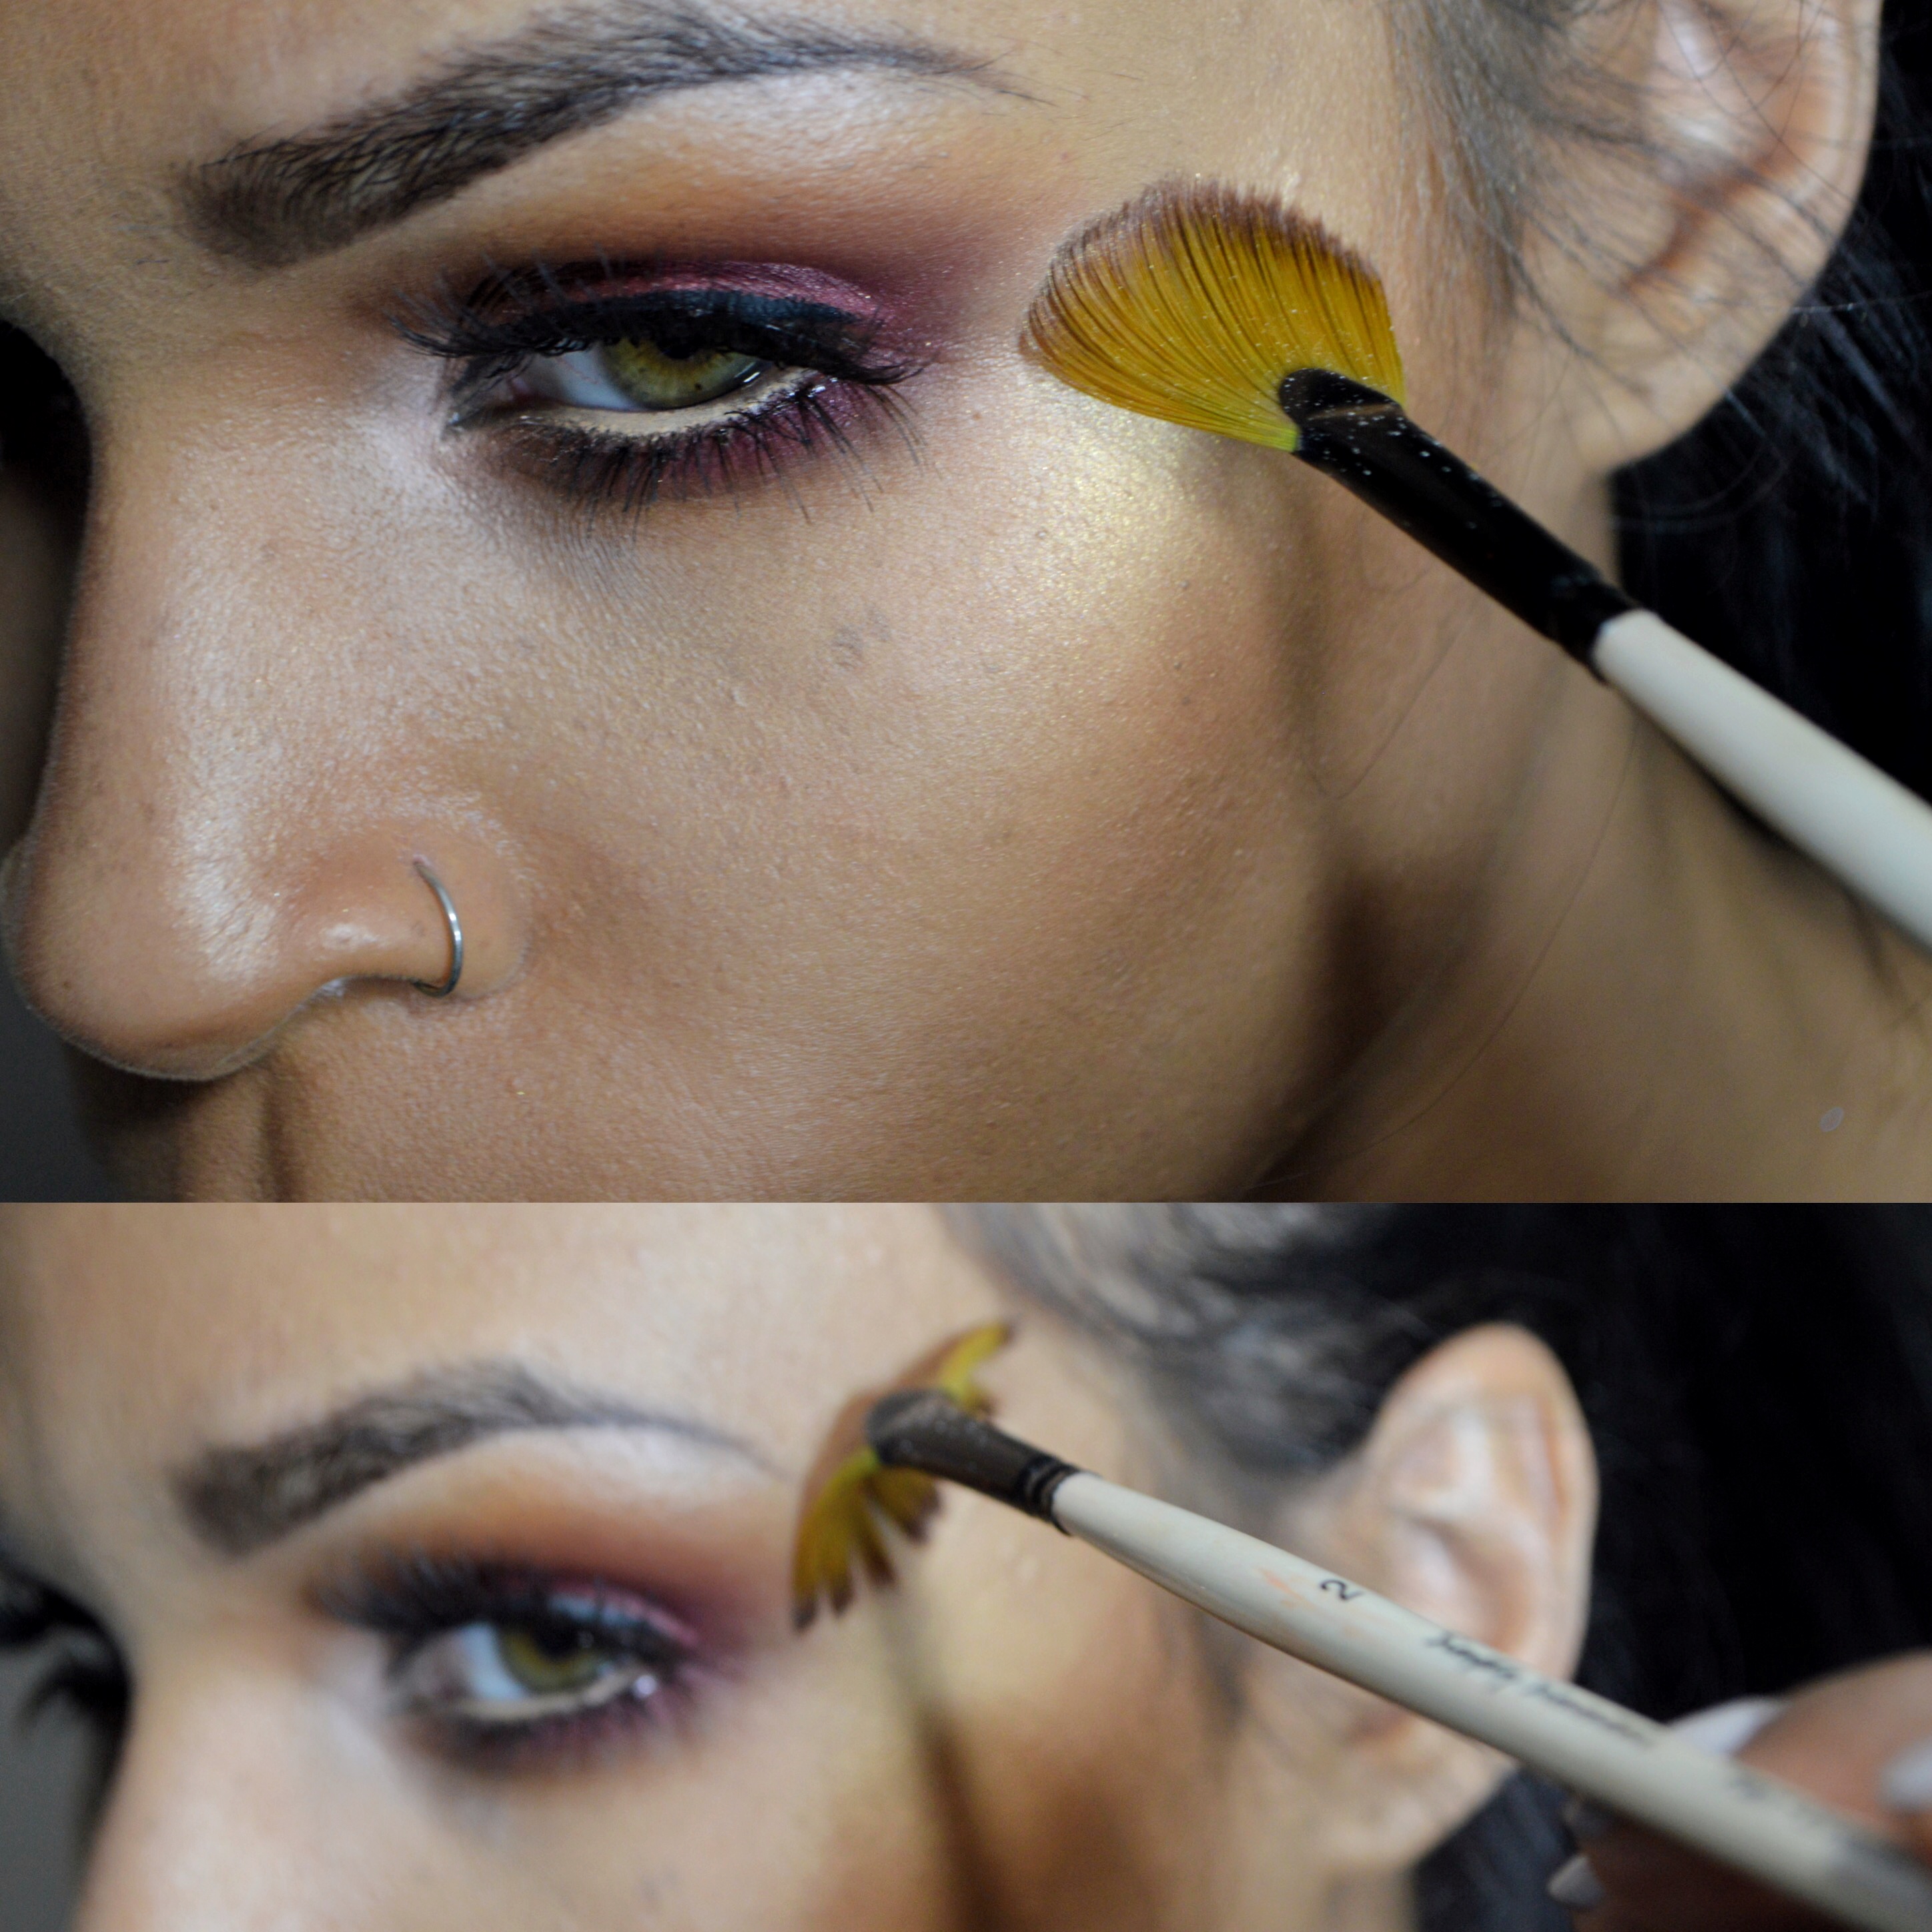
Start with whatever brush you like to use (I’m using a basic fan brush I picked up from the paint brush section at Micheal’s) behind the eye, but below the temple. You’re just going to apply the highlighter in a small C shape. Work it forward on the upper cheekbone above your contour then back up above to about the start of your brow.
I think my highlight just might be on fleek..Maybe?

Now Blush! I’m really boring with my blush..I use Coppertone from MAC just about everyday.
If you smile it’s a little easier to dust on your blush.. The outer apples of your cheek is what I like to aim for. I think a lot of people tend to apply their blush about an inch away from their nostrils and that gives a little bit more of a flushed effect and if you like to go for bolder blush tones it can add a little too much color to the look… Then just fluff it back and it will kind of meet right in the center of where your contour and shimmer highlight end. Then everything just comes together after this!
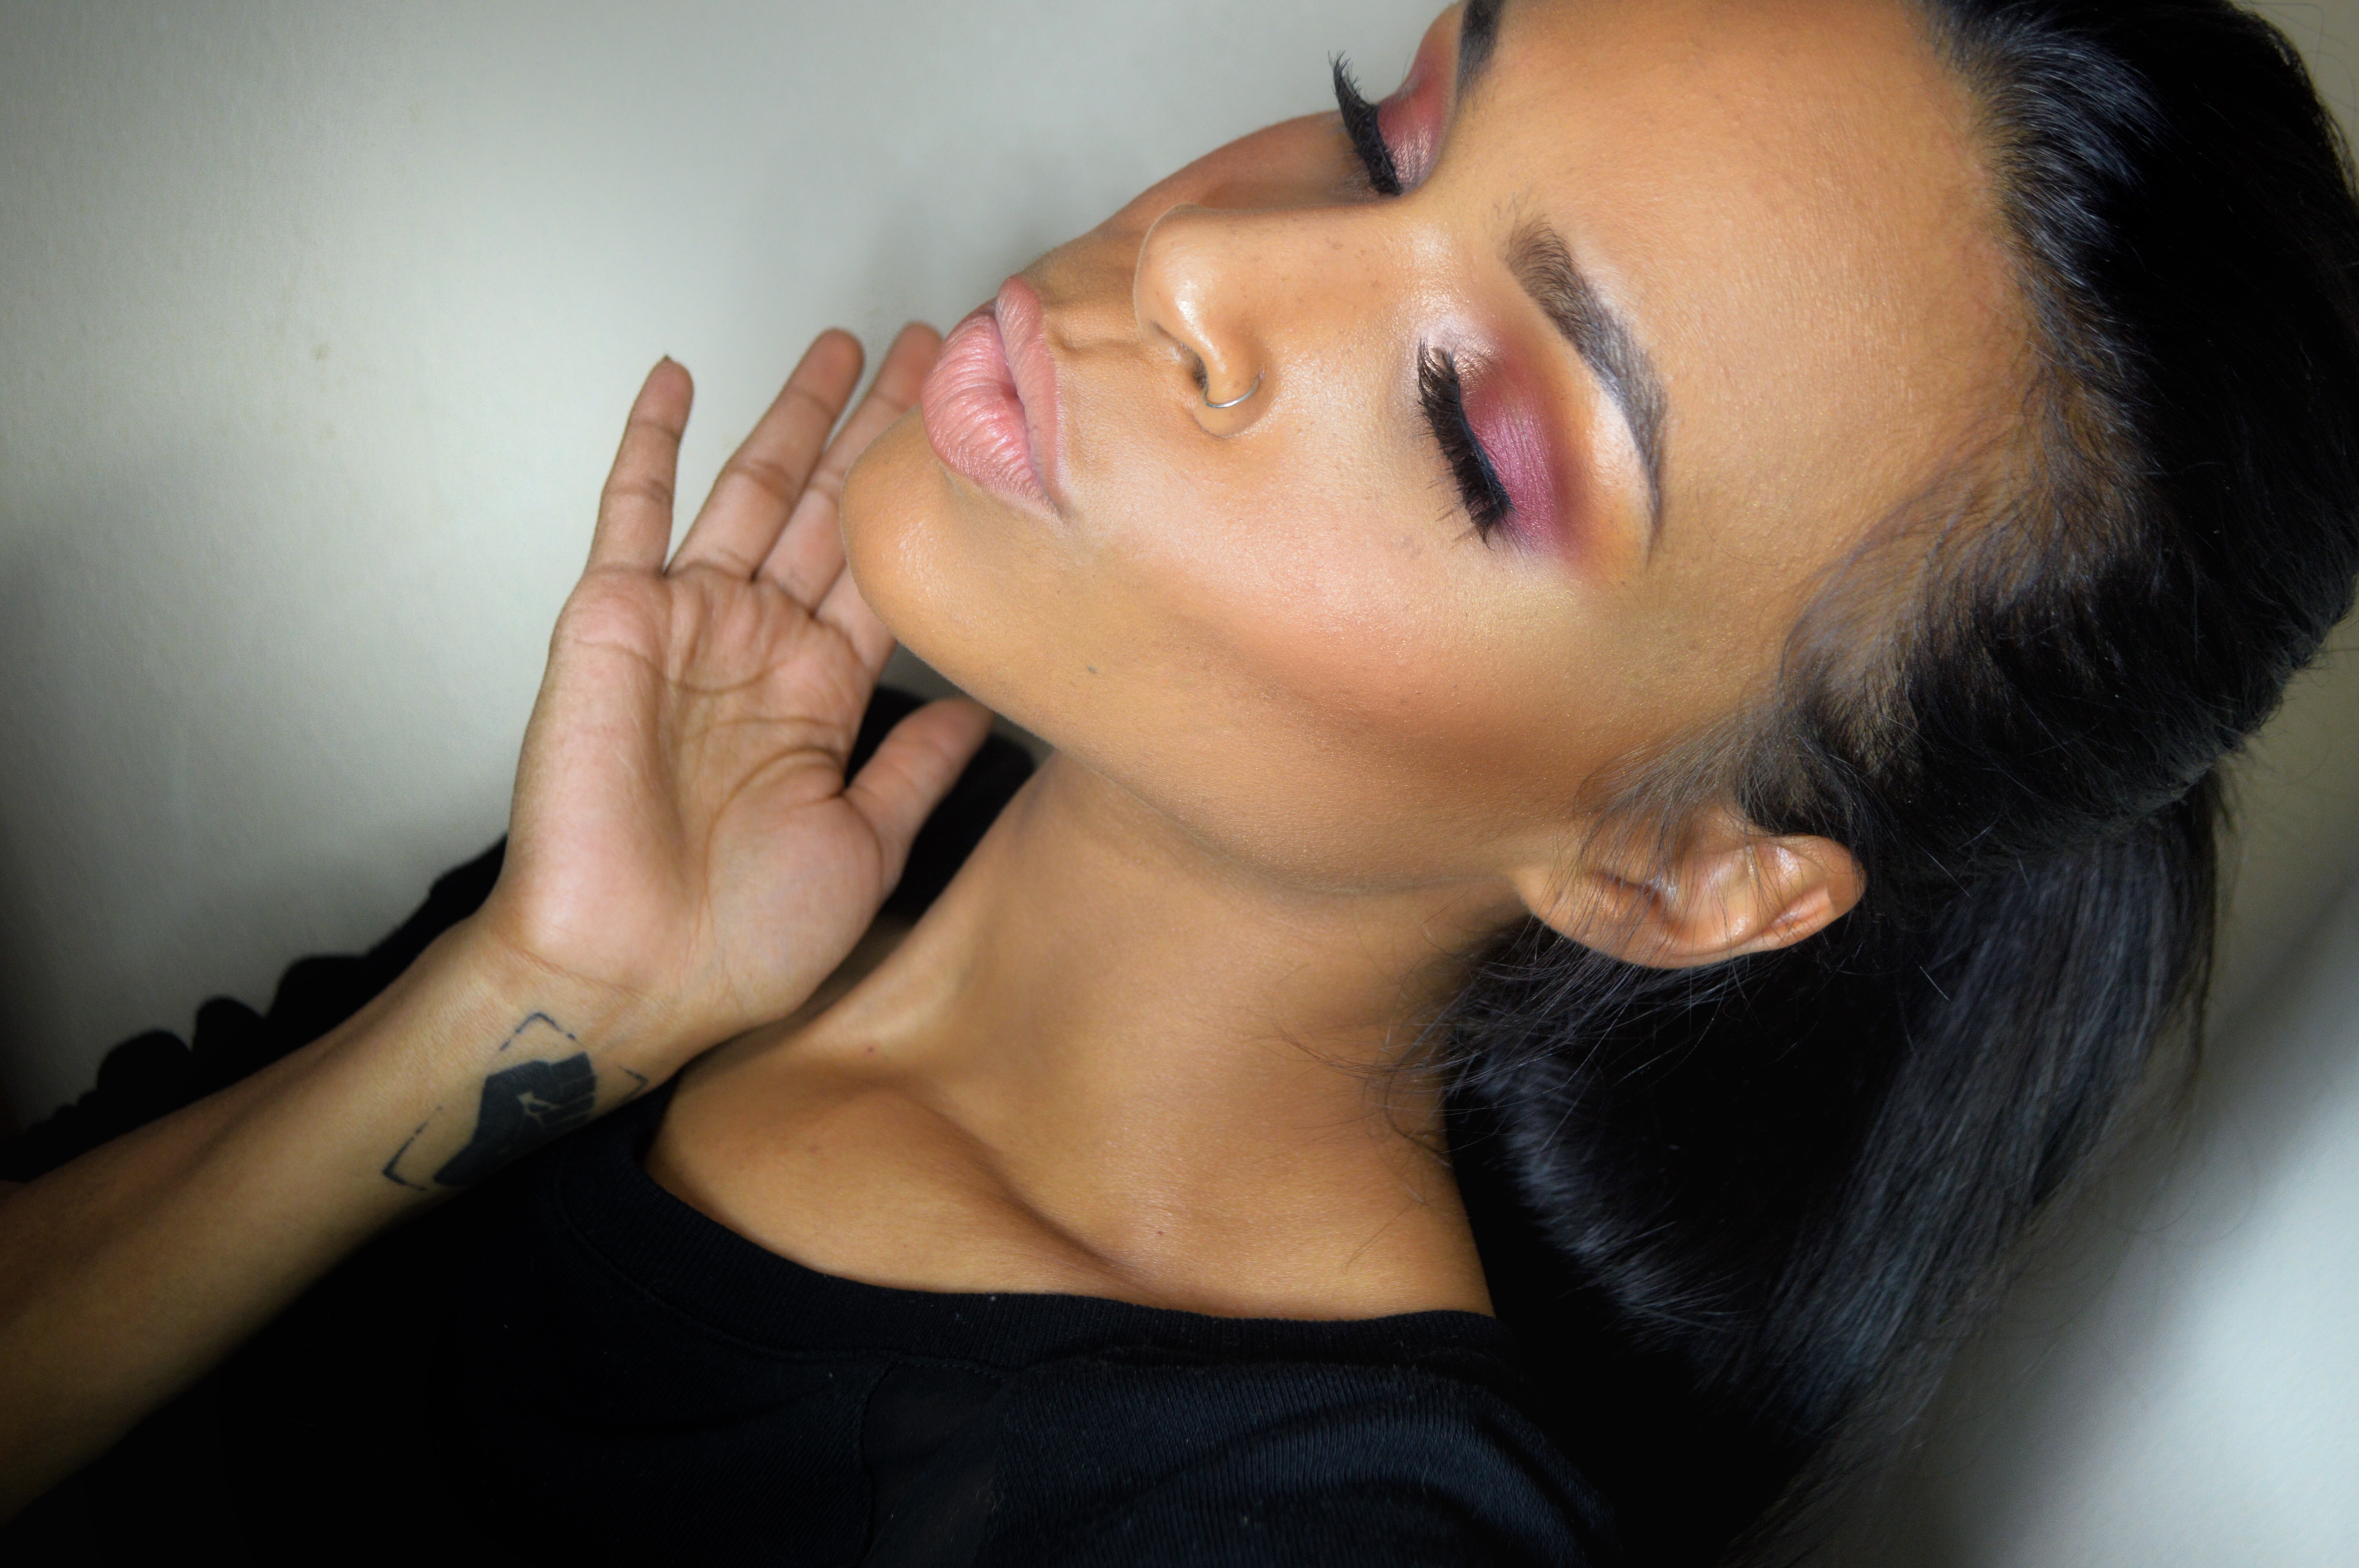
Now we’re ready for duck faces and selfies!
This was perfect! I agree I chat stand adding a bunch of products to contour I really don’t see the purpose having to use a cream when a powder can get the job done perfectly! Your pictures look great too B! Keep up the great work I love reading!
Thanks so much Naz! You know the struggle girl!! Lol
I need that highlight in my life!!!!! This was super informative. Great job…abd th epics turned out AMAZING 🙂
Thank you girl!!!!